Scan and monitor search results
After running a search query in Explore, you can scan the results for secrets and set up ongoing monitoring to catch new exposures automatically.
Scanning search results
Running a scan
- Execute your search query to find relevant commits
- Review the number of results - scanning is only possible with 10,000 commits or fewer
- If results exceed 10,000, refine your search query to reduce the number of matches
- Click Scan for secrets to analyze the commits with GitGuardian's detection engine
- Wait for the scan to complete - processing time depends on the number of results
Viewing scan results
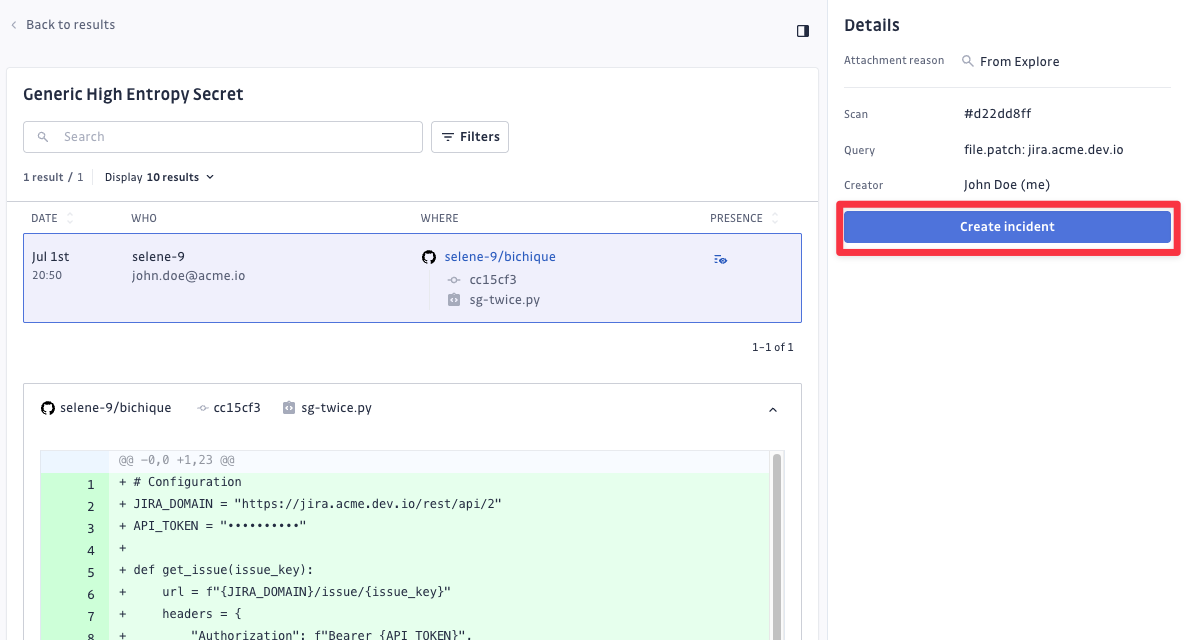
Secret findings
Scan results show:
- Detected secrets: Type, severity, and confidence level
- Source context: Repository, commit, and file information
- Patch details: Exact location and surrounding code
- Metadata: Author, date, and commit message

Creating incidents
For each detected secret, you can:
- Review context: Examine the full commit and file details
- Assess impact: Determine if the secret poses a real risk to your organization
- Create incident: Convert the finding into a public secret incident
info
Incidents created from Explore will have the attachment reason "From Explore" to help you track their origin in your incident management workflow.
Scheduled monitoring
Setting up automated scans
You can transform any relevant search into ongoing monitoring:
- Name the scan (optional): After running a search and scan, you can give it a descriptive name
- Set frequency: Choose daily or weekly automated scanning
- Automatic incident creation: New secrets found in subsequent scans automatically become incidents
- Continuous protection: Stay protected as new commits matching your criteria appear
Next step
- Review incident remediation for handling Explore findings

