Remediate incidents
This guide covers GitGuardian's platform features that support your remediation efforts, including collaboration tools, automation capabilities, and integrated secret management.
New to remediation? Start with our Remediation Overview to understand GitGuardian's approach, then choose the appropriate Remediation Scenario for your situation.
Collaborating with developers
Involving developers is crucial for the remediation. Developers also have knowledge about the secret itself, since they are the ones who used it. They also understand the system's architecture and the services that may depend on the secret. They can provide insight into affected services and the best way to mitigate issues. This knowledge is essential in creating an effective and efficient remediation plan.
GitGuardian's goal is to enable easy collaboration with your developers by providing flexible ways to share your incidents.
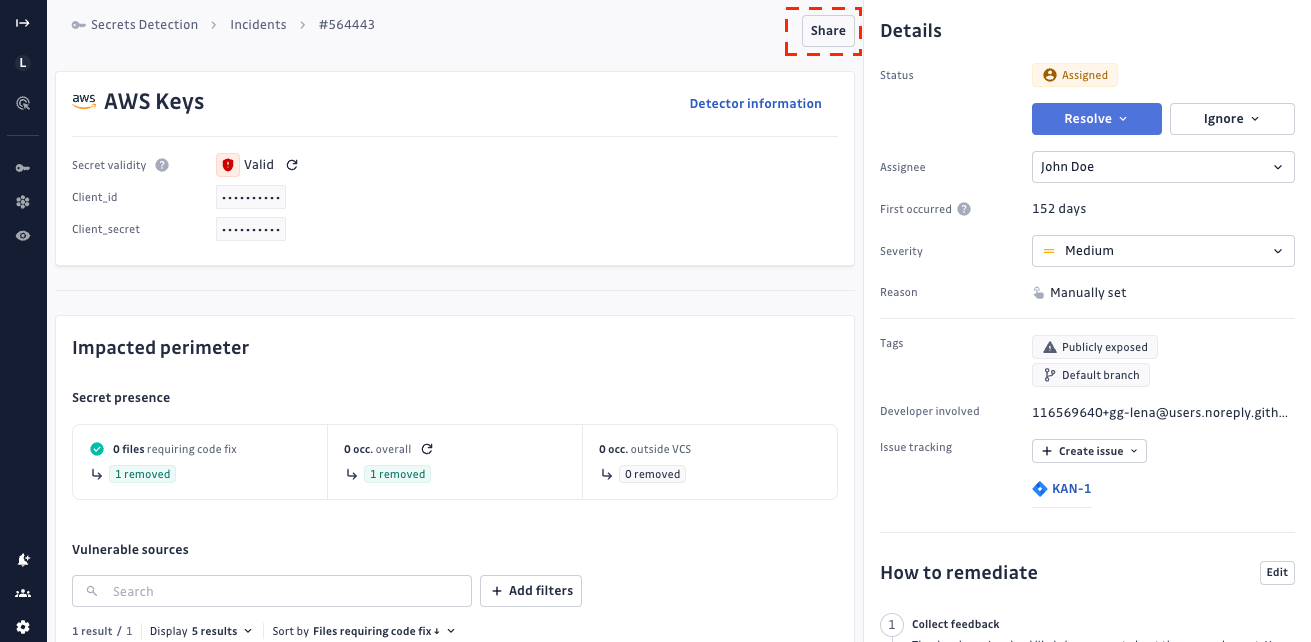
Share the incident
You can collaborate by sharing the incident in two ways:
- Internally, with users registered on the dashboard, via the "Grant access" action. This option is only available for Business workspaces.
- Externally, with non-registered users, via the "Public sharing" action.
When you share an incident, the entire incident with all its occurrences is shared, not just individual occurrences. This provides complete context for effective remediation collaboration.
More details are available in our dedicated Collaboration and sharing section.
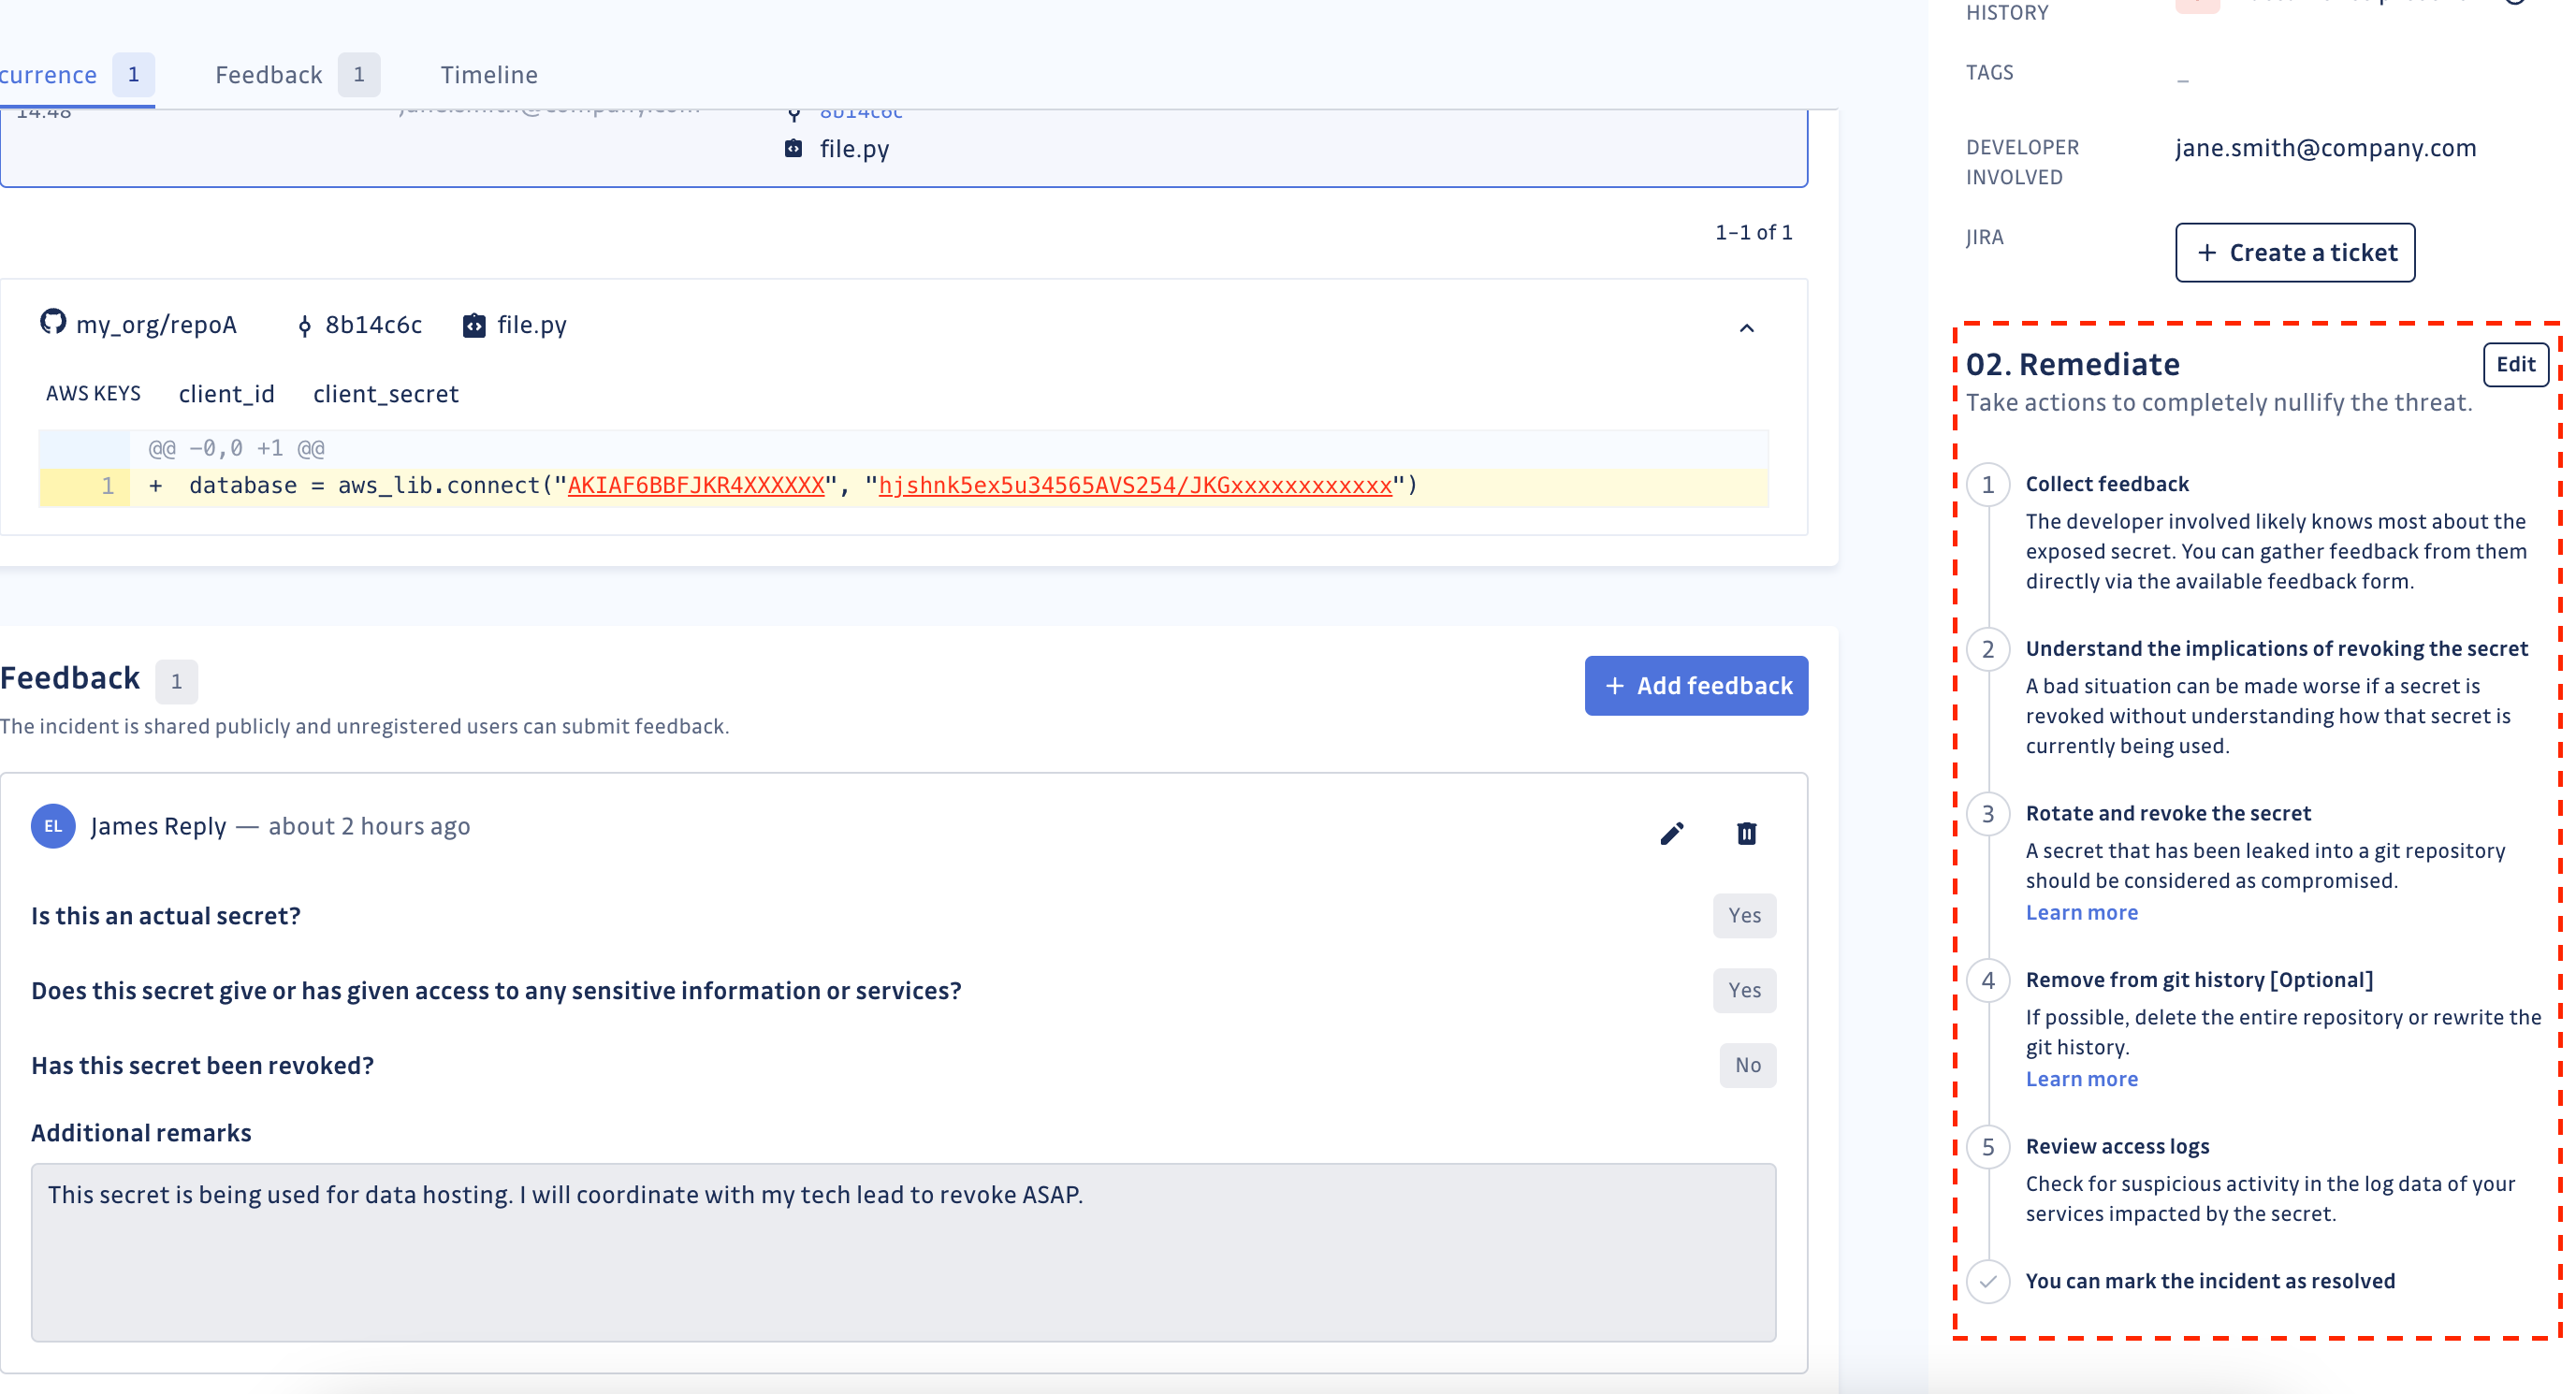
Collect the feedback
The feedback form enables you to collect standardized feedback about an incident. To fill out the form, registered users require the "Can edit" incident permission. They can also edit or delete their own feedback.
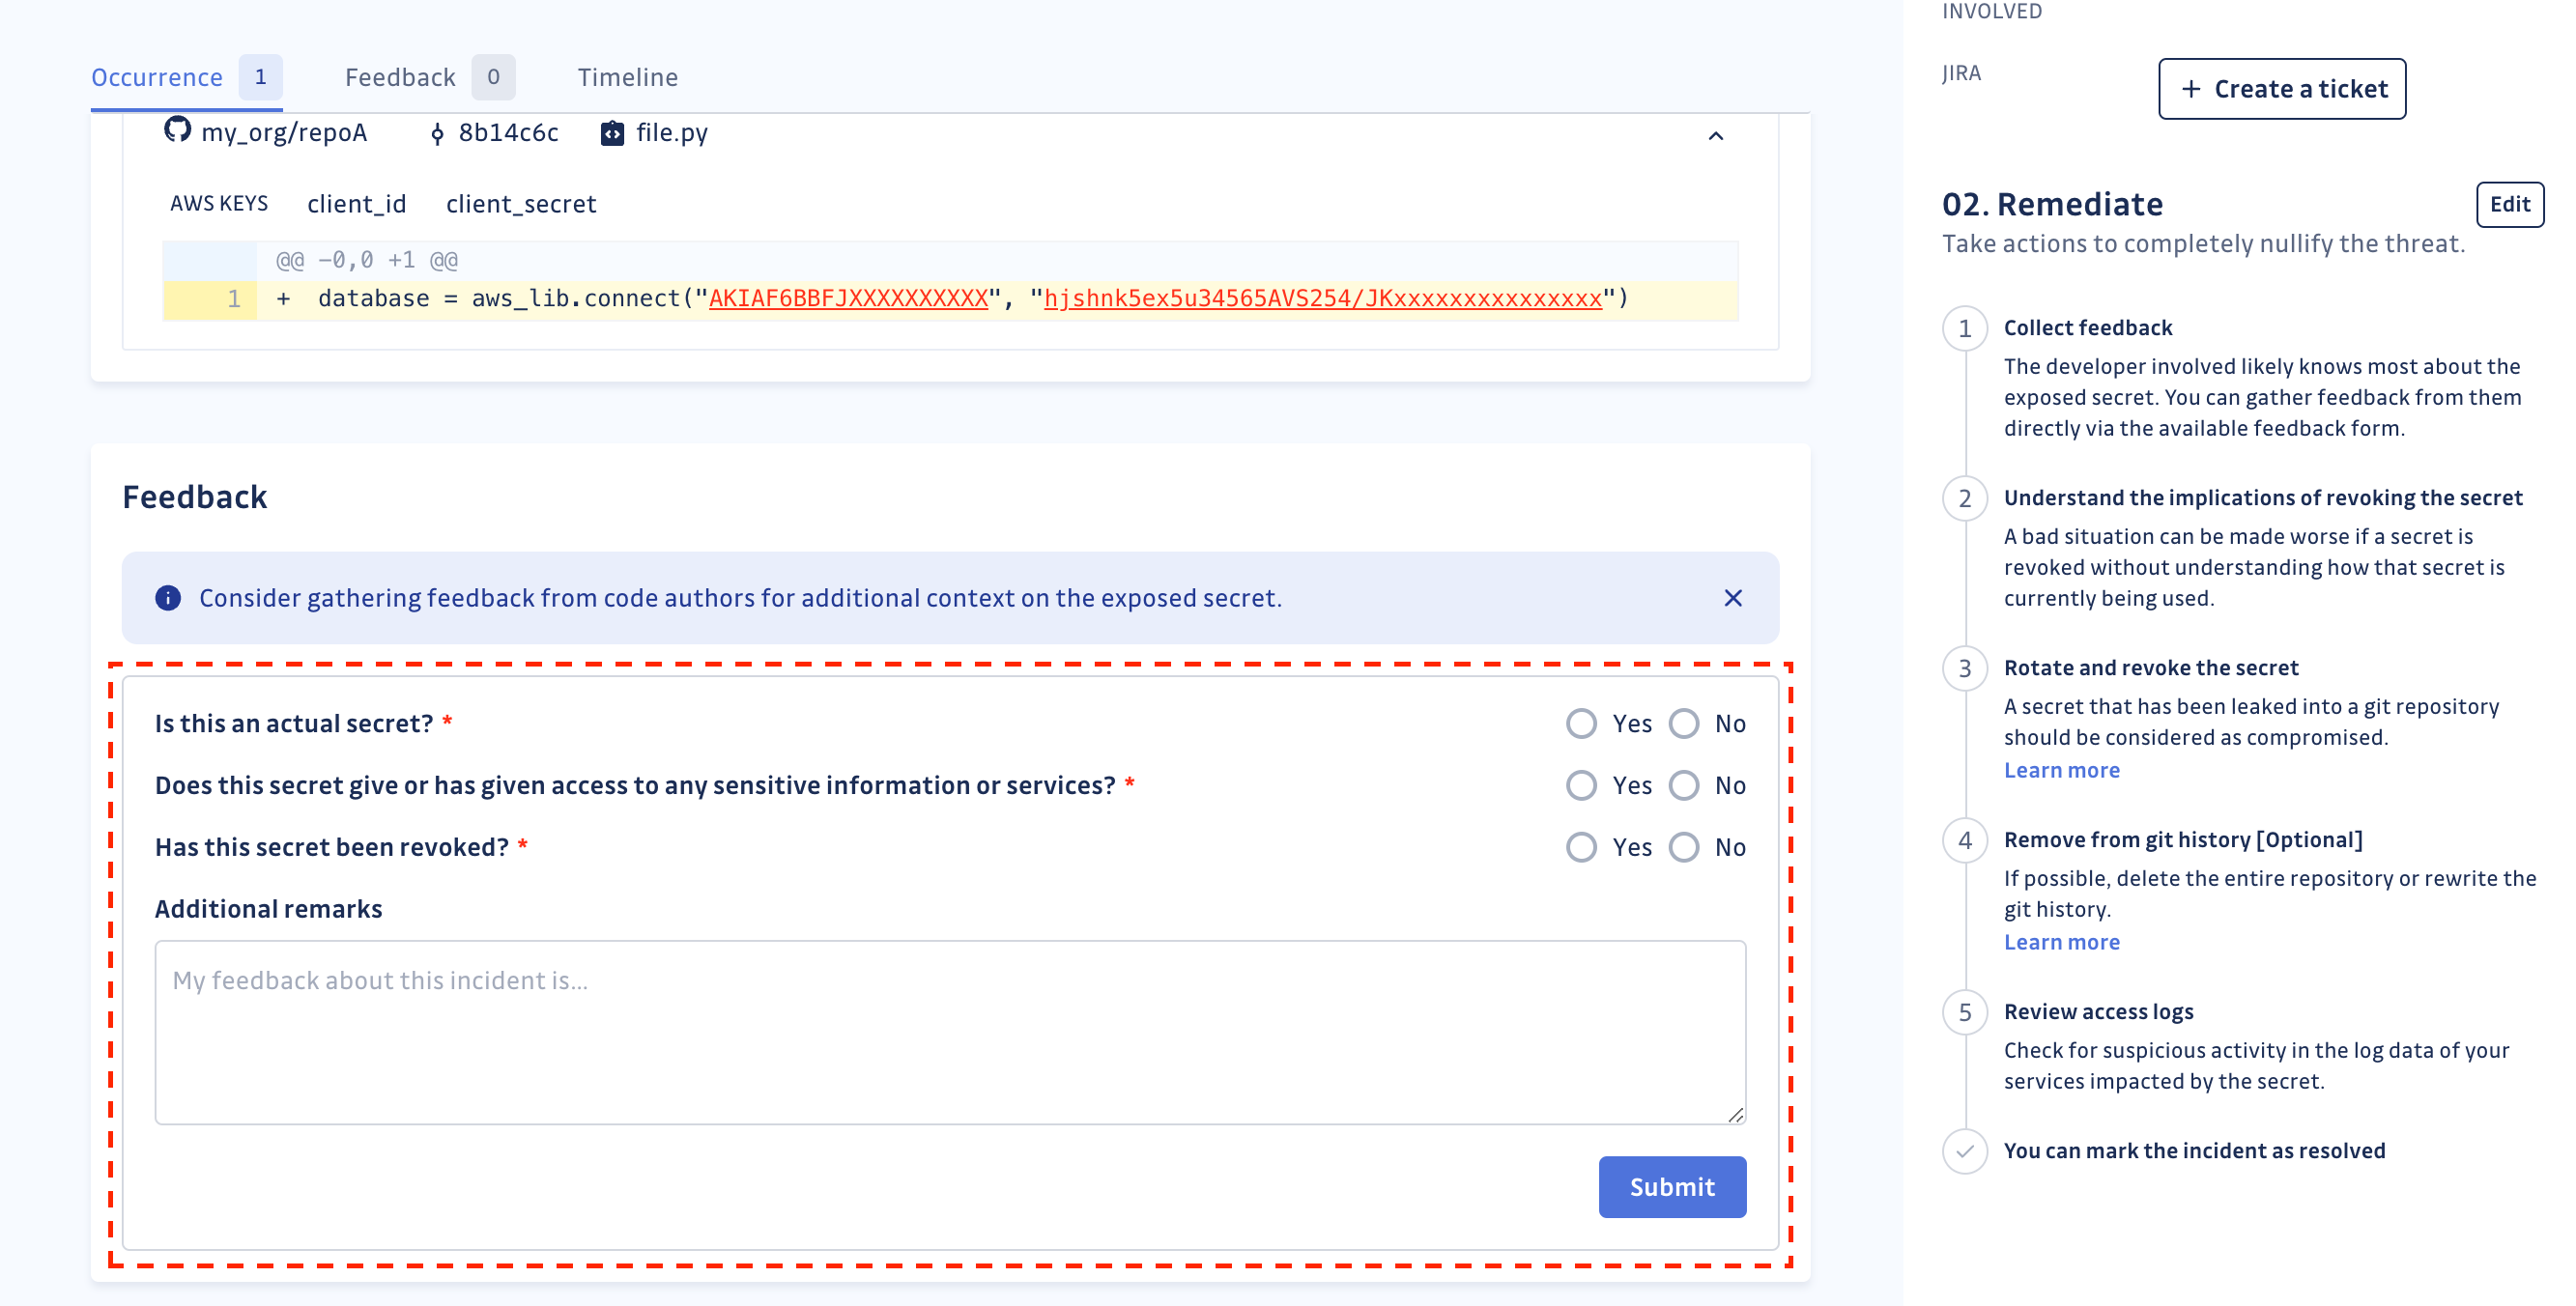
Whenever feedback is submitted for an incident, whether by a registered user or a non-registered user, an email notification is sent:
- to the incident assignee, if applicable.
- to all users with access to the incident, if there is no assignee.
Every action taken by the developer will be logged in the incident details timeline.
The feedback form is not customizable yet.
Mention members and teams
In incident notes and feedback, you can mention a member or a team to notify the right people directly. Type @, then pick a member or team from the searchable list. The list only suggests members and teams that already have access to the incident.
- Member mention (
@name): the mentioned member receives an email notification linking straight to the incident. - Team mention (
@team-name): every member of the team receives the notification.
Mentions respect existing permissions: the picker only lists members and teams with access, and a mentioned person is only notified for incidents they can access.
Recipients can manage these emails from their notification settings under Workspace.
Workflow customization
GitGuardian displays a default remediation workflow on each incident's details page to guide remediation efforts. Organizations can customize this workflow to match their specific policies and procedures.
Customizing workflows
Workspace Managers can customize remediation workflows in the Secrets detection settings:
- Create custom workflows - Define up to 20 custom steps with titles, descriptions, and links
- Switch between workflows - Choose between default GitGuardian workflow and custom versions
- Edit existing workflows - Add, modify, delete, or reorder steps as needed
- Apply organization-wide - Custom workflows appear on all incident pages and shared incidents
This customization helps ensure remediation follows your organization's established security procedures and compliance requirements.
Custom messages when using GitGuardian CLI (ggshield)
When GitGuardian CLI detects secrets in developers' code, whether in pre-commit or other stages, it is highly beneficial to provide them with clear instructions on using secrets in their code according to company standards (Vaults, Environment variables, ..).
Security teams have the ability to customize these messages, which will be disseminated through the CLI at different stages of the Software Development Life Cycle such as pre-commit, pre-push, and pre-receive.
Secret Manager integration
GitGuardian integrates with Secret Managers through ggscout to streamline the remediation process:
Key capabilities
- Push-to-vault - Move exposed secrets directly to your Secret Manager from the GitGuardian dashboard
- Secret identification - Automatically tag incidents when secrets are already vaulted
- Remediation tracking - Monitor progress from detection through secure storage implementation
Supported integrations
GitGuardian works with major Secret Manager platforms to provide seamless remediation workflows. The integration helps identify which secrets need to be moved to secure storage and facilitates the transition process.
Learn more about Secret Manager integrations
Secret revocation from GitGuardian
GitGuardian's integrated secret revocation feature enables you to revoke valid secrets directly from the platform for supported providers, drastically reducing the time secrets remain exposed and accelerating your incident response workflows.
This feature eliminates the need to switch between multiple tools and platforms during remediation, providing a streamlined path from detection to resolution.
- The secret shall have a Valid status.
- You shall have
Full Accesspermissions on the incident. - The secret revocation is supported by the provider.
Supported providers
Secret revocation is currently available for the following providers:
- GitHub personal access tokens and fine-grained tokens.
- GitLab personal access tokens.
- OpenAI API keys.
- SendGrid API keys.
- Slack user tokens and Slackbot tokens.
- Heroku platform keys.
GitGuardian actively advocates with service providers to adopt programmatic revocation capabilities and implement standardized revocation endpoints, making secret management more secure across the ecosystem.
Additional providers are being added regularly. Check back for updates or contact support to request specific provider support.
Enabling secret revocation
The secret revocation feature can be toggled on or off in your workspace settings:
- Navigate to Settings > Secrets > General.
- Locate the Secret Revocation toggle.
- Toggle the feature on or off as needed.
Workspace Managers and Owners can control this setting. When disabled, the revoke button will not appear on incident details pages.
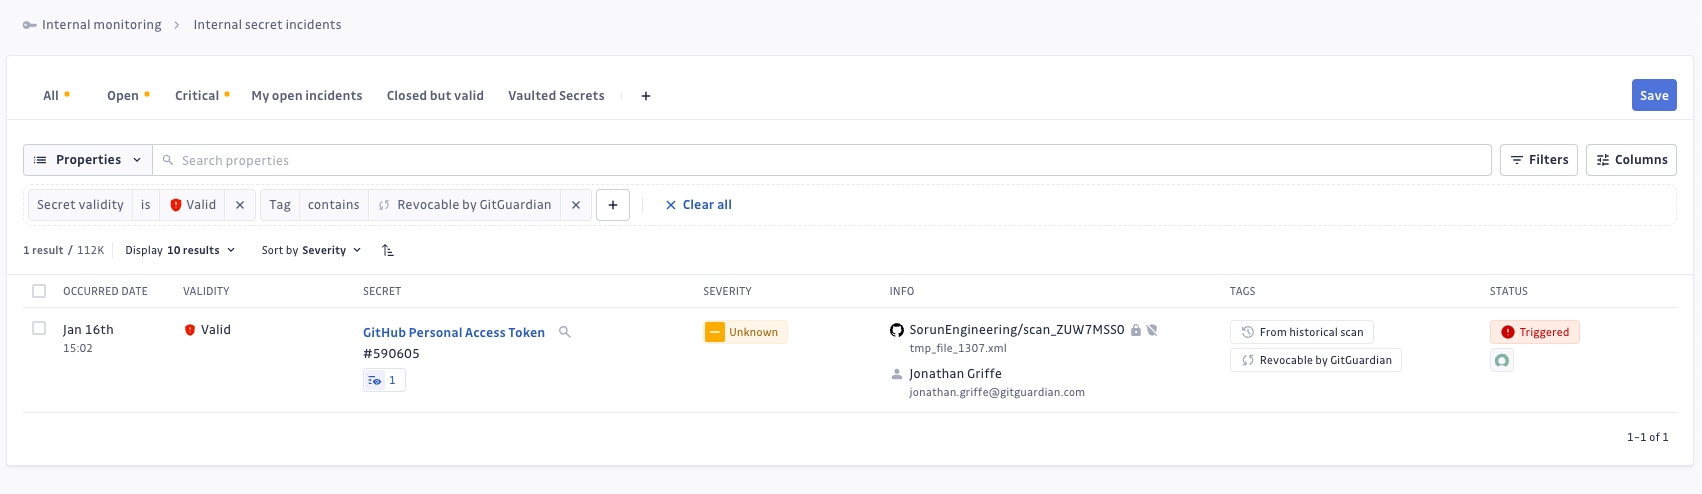
Filtering for revocable incidents
Focus your team's efforts on these high-impact, actionable incidents that can be immediately revoked:
- Navigate to your incidents list.
- Filter secrets
Validsecrets usingSecret Validity. - Filter revocable secrets using
Revocable by GitGuardianGitGuardian tag.
Revoking a secret
Revoking a secret may have dramatic side effects on your systems, applications, or workflows. Therefore, you should always consider checking what the revocation will impact before proceeding.
GitGuardian provides you with a lot of context and insights to assess the impact of the exposure, but more importantly, measure the impact of the revocation, thanks to the identification of the workloads using these credentials.
To revoke a secret directly from GitGuardian:
- Navigate to the incident: Open the incident details page for the secret you want to revoke.
- Locate the revoke button: Find the Revoke button in the secret details right-panel section.
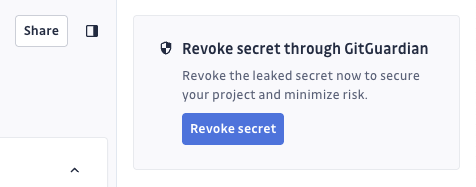
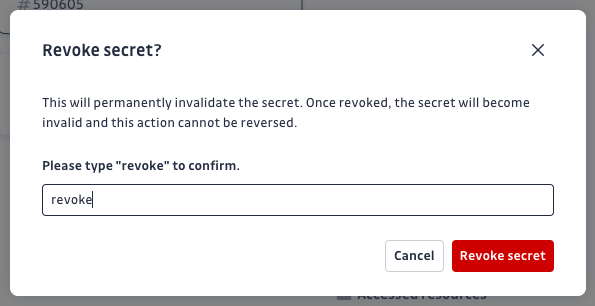
- Initiate revocation: Click Revoke to open the confirmation dialog.
- Confirm the action: Confirm the revocation by inserting
revokein the modal dialog.
- Monitor the timeline: The revocation action will be automatically logged in the incident timeline.
After revocation
Once a secret is revoked, GitGuardian automatically re-runs the validity checker. If successful:
- The secret status changes from
ValidtoInvalid. - The linked incident status changes to
Resolvedassuming Playbook Automatically resolves incidents when valid secrets are revoked is enabled.
All revocation activities are logged in the incident timeline for audit and compliance purposes.
Most revocation APIs do not explicitly confirm successful revocation. GitGuardian relies on subsequent validity checks to determine if the revocation was successful.
Automate remediation with playbooks
GitGuardian playbooks can automate many remediation tasks for internal incidents, reducing manual work and accelerating response times.
Learn more about configuring playbooks for your workspace.
The playbooks relevant to Internal Monitoring are:
- Auto-share incident access to the author of the leak (link by email)
- Auto-grant incident access to author of the leak (in-app)
- Auto-resolve incident when valid secret is revoked
- Auto-ignore incidents when secrets are tagged as false positive
- Auto-ignore incidents when secrets are directly marked as invalid
See the complete detail of available playbooks.

