License management
License management is essential for GitGuardian self-hosted installations, involving both initial license acquisition and ongoing synchronization. This page covers how to download and manage licenses across different installation methods (Helm-based and KOTS-based), including both airgap and non-airgap environments.
Handle the license file as sensitive information; it includes credentials for GitGuardian's registry and image repository.
Download
The method to obtain your license varies depending on your installation type:
Helm-Based Installation
For Helm installations, the license is included in the Helm chart you download. You will receive registry access credentials from the GitGuardian team at support@gitguardian.com. These credentials include:
- A username (typically your email address)
- A password for accessing the Helm chart registry
You will use these credentials to authenticate with the registry using:
helm registry login registry.replicated.com --username your.name@yourcompany.com
KOTS Embedded Cluster Installation
For KOTS embedded cluster installations, the license is included directly in the installer bundle. You only need the license ID provided by the GitGuardian team - no manual download is required.
KOTS Existing Cluster Installation
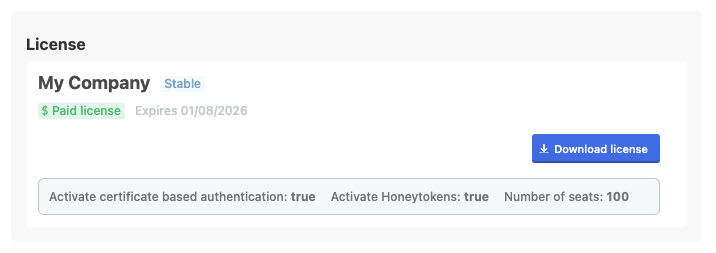
For KOTS installations on existing clusters, you will need to manually download the license file. You will need 2 pieces of information:
- the portal URL, which will usually be sent by email.
- the password, which ideally will be sent on a different channel (via SMS for example).
Once connected to the portal, you will be able to download the license file:

Synchronization for Helm-based installation
With Helm, the license data is provided during the installation or the upgrade.
Airgap installation
GitGuardian teams will send you the information to upload a new license manually.
Non-Airgap, after 2025.3
GitGuardian will automatically synchronize the license information with your application. As a result, you no longer need to manually sync your license after installation or upgrades.
Non-Airgap, before 2025.3
If you need to sync the license, you would need to use the helm upgrade command and specify the same version as the one currently installed to prevent unwanted upgrades to the latest version.
To find the release name and the version currently installed, use helm ls:
helm ls
NAME             UPDATED             STATUS  	CHART                	APP VERSION
<release-name>   2025-03-20 12:40    deployed	gitguardian-2025.3.0	2025.3.0
Here, the version installed is 2025.3.0. To synchronize the license manually, you would run the following command, using the version installed in your environment:
helm upgrade <release-name> -n <namespace> oci://registry.replicated.com/gitguardian/gitguardian --version 2025.3.0 -f local-values.yaml
Replace <release-name> with the name used during the initial installation. If needed, specify the Kubernetes namespace with -n (the default namespace is used if not specified).
Synchronization for KOTS-based installation
GitGuardian may update some information on your license, such as changing the expiration date, modifying the number of seats, etc.
Airgap installation
GitGuardian teams will send you the information to upload a new license in the Admin console.
Non-Airgap
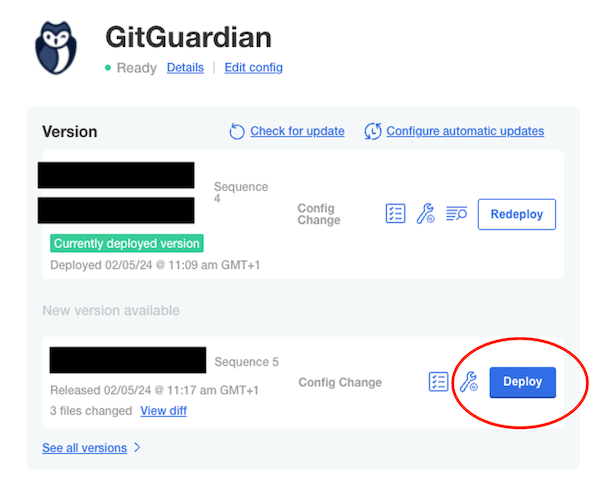
From the 2025.3.0 release onward, GitGuardian will automatically synchronize the license information with your application. As a result, you no longer need to manually sync your license.
Once the license has been updated automatically (for non-air gap environments), you will still need to manually deploy the updated configuration to your instance.


