Custom Certificate Authorities
GitGuardian provides the option to use a custom Certification Authority (CA) for some of the integration. Configuring this will permit the GitGuardian application to verify certificates signed by the custom CA.
It is only supported with the following integrations:
- GitHub Enterprise Server
- GitLab Self-Managed
- Azure DevOps
- Bitbucket
- Splunk alerting
- Custom webhook alerting
Prerequisites
To use your CA certificates with the GitGuardian application, you will need to
generate a pem file with the entire SSL certificate trust chain.
Format your file with multiple pem certificates
In case of multiple certificates, you should concatenate them into a single file, like the example below:
-----BEGIN CERTIFICATE-----
xxx
(your first certificate)
xxx
-----END CERTIFICATE-----
-----BEGIN CERTIFICATE-----
xxx
(your second certificate)
xxx
-----END CERTIFICATE-----
-----BEGIN CERTIFICATE-----
xxx
(your third certificate)
xxx
-----END CERTIFICATE-----
Upload and deploy
Helm-based installation
Helm supports only the pem file format. To use a custom CA, specify it in the values file under the tls.customCa and replicated.privateCASecret sections.
For TLS certificates via cert-manager, see Configure TLS certificates using cert-manager.
Given the certificate is at a path $HOME/gitguardian/custom-ca.pem, first create the secret in your namespace with the following command:
kubectl create secret generic custom-ca-secret-name --from-file $HOME/gitguardian/custom-ca.pem
Then specify the following in your values file:
tls:
  customCa:
    # Name of the secret containing certificate in the PEM format
    existingSecret: custom-ca-secret-name
    # Key name of the certificate entry
    existingSecretKeys:
      caCrt: 'custom-ca.pem'
replicated:
  privateCASecret:
    name: custom-ca-secret-name
    key: 'custom-ca.pem'
Apply the configuration with:
helm upgrade <release-name> -n <namespace> oci://registry.replicated.com/gitguardian/gitguardian --version 2024.x.y -f local-values.yaml`
Replace <release-name> with the release name you specified during the initial installation (use helm ls to find it). If needed, specify the Kubernetes namespace with -n (default namespace is used if not specified). Stick to the same version using the --version flag.
KOTS-based installation
Connect to the Admin Console and navigate to the Custom Certificate Authority section. Check the Use custom CA setting. Depending on the type of file you generated, you'll have to check the corresponding option.
You can now upload your CA certificate file:
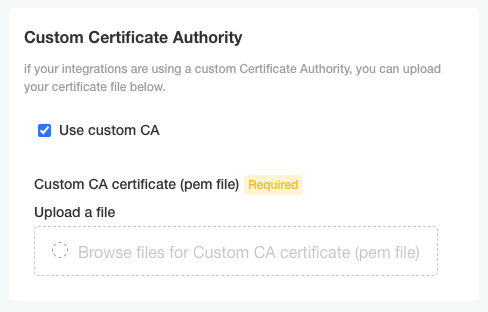
Once uploaded, do not forget to save the configuration at the bottom of the page. You'll also have to redeploy the application for the change to be taken into account.
Certificates will be then installed and used by the application.

