Okta
You can configure SSO using either the GitGuardian app from the Okta Integration Network (recommended) or a custom SAML app.
Prerequisites
- An Okta account with administrator privileges
- A GitGuardian workspace with Owner or Manager role
- Your GitGuardian Workspace ID (found in your dashboard URL or workspace settings)
Supported features
- SP-initiated SSO: Users can sign in to GitGuardian directly from the application URL
- IdP-initiated SSO: Users can sign in to GitGuardian from the Okta dashboard
- Just-in-Time (JIT) provisioning: New users are automatically created in GitGuardian on first login
GitGuardian also supports SCIM provisioning for Okta. See the SCIM configuration guide for setup instructions.
SP-initiated SSO
Users can sign in directly to GitGuardian without going through Okta first:
- Navigate to your GitGuardian dashboard URL (e.g.,
https://dashboard.gitguardian.com). - Enter your email address.
- If your email domain is reserved, you will be automatically redirected to Okta for authentication.
- After authenticating with Okta, you will be redirected back to GitGuardian.
Okta OIN app
The GitGuardian app is available in the Okta Integration Network.
-
In Okta, go to Applications > Applications and click Browse App Catalog.
-
Search for "GitGuardian" and select the GitGuardian app.
-
Click Add Integration.
-
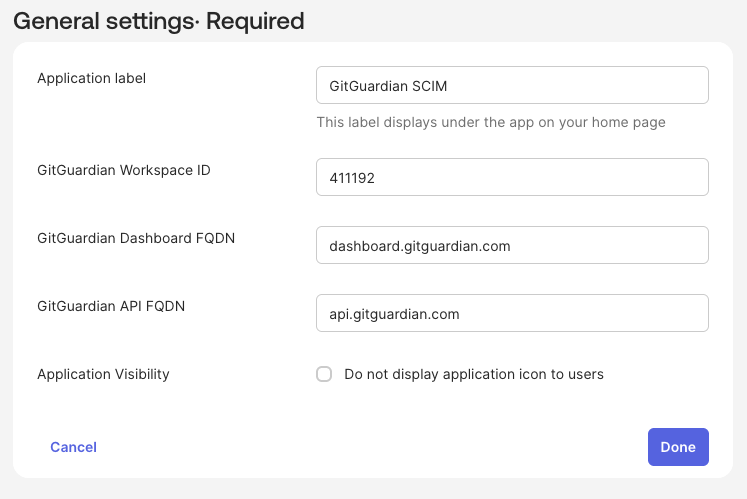
On the General Settings page, configure the following:
- Application label: Enter a name for the app (e.g., "GitGuardian").
- GitGuardian Workspace ID: Enter your GitGuardian workspace ID.
- GitGuardian API FQDN: Enter
api.gitguardian.comorapi.eu1.gitguardian.com(or your self-hosted API domain). - GitGuardian Dashboard FQDN: Enter
dashboard.gitguardian.comordashboard.eu1.gitguardian.com(or your self-hosted dashboard domain).
-
Click Done to create the application.
-
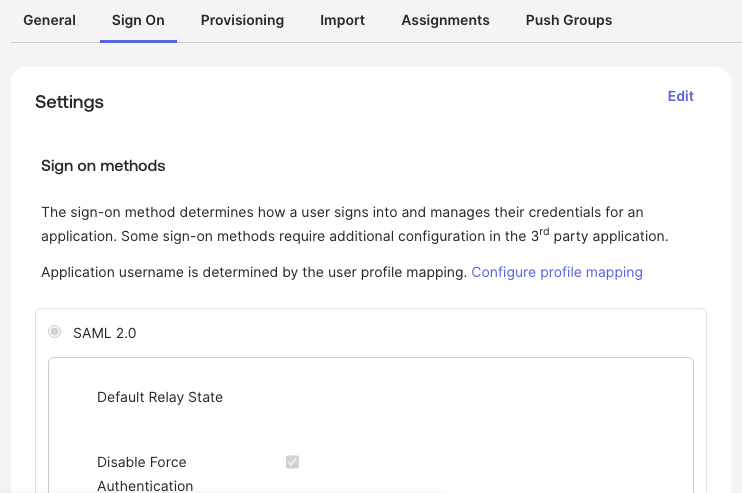
Go to the Sign On tab to view the SAML configuration.
-
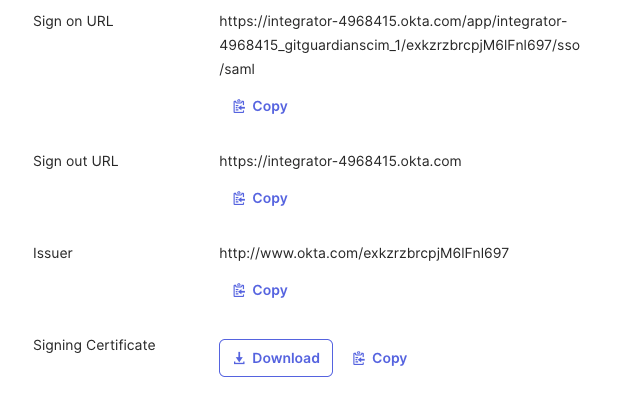
Scroll down to find the SAML metadata and copy the following values:
- Sign on URL
- Issuer
- Signing Certificate (download or copy)
-
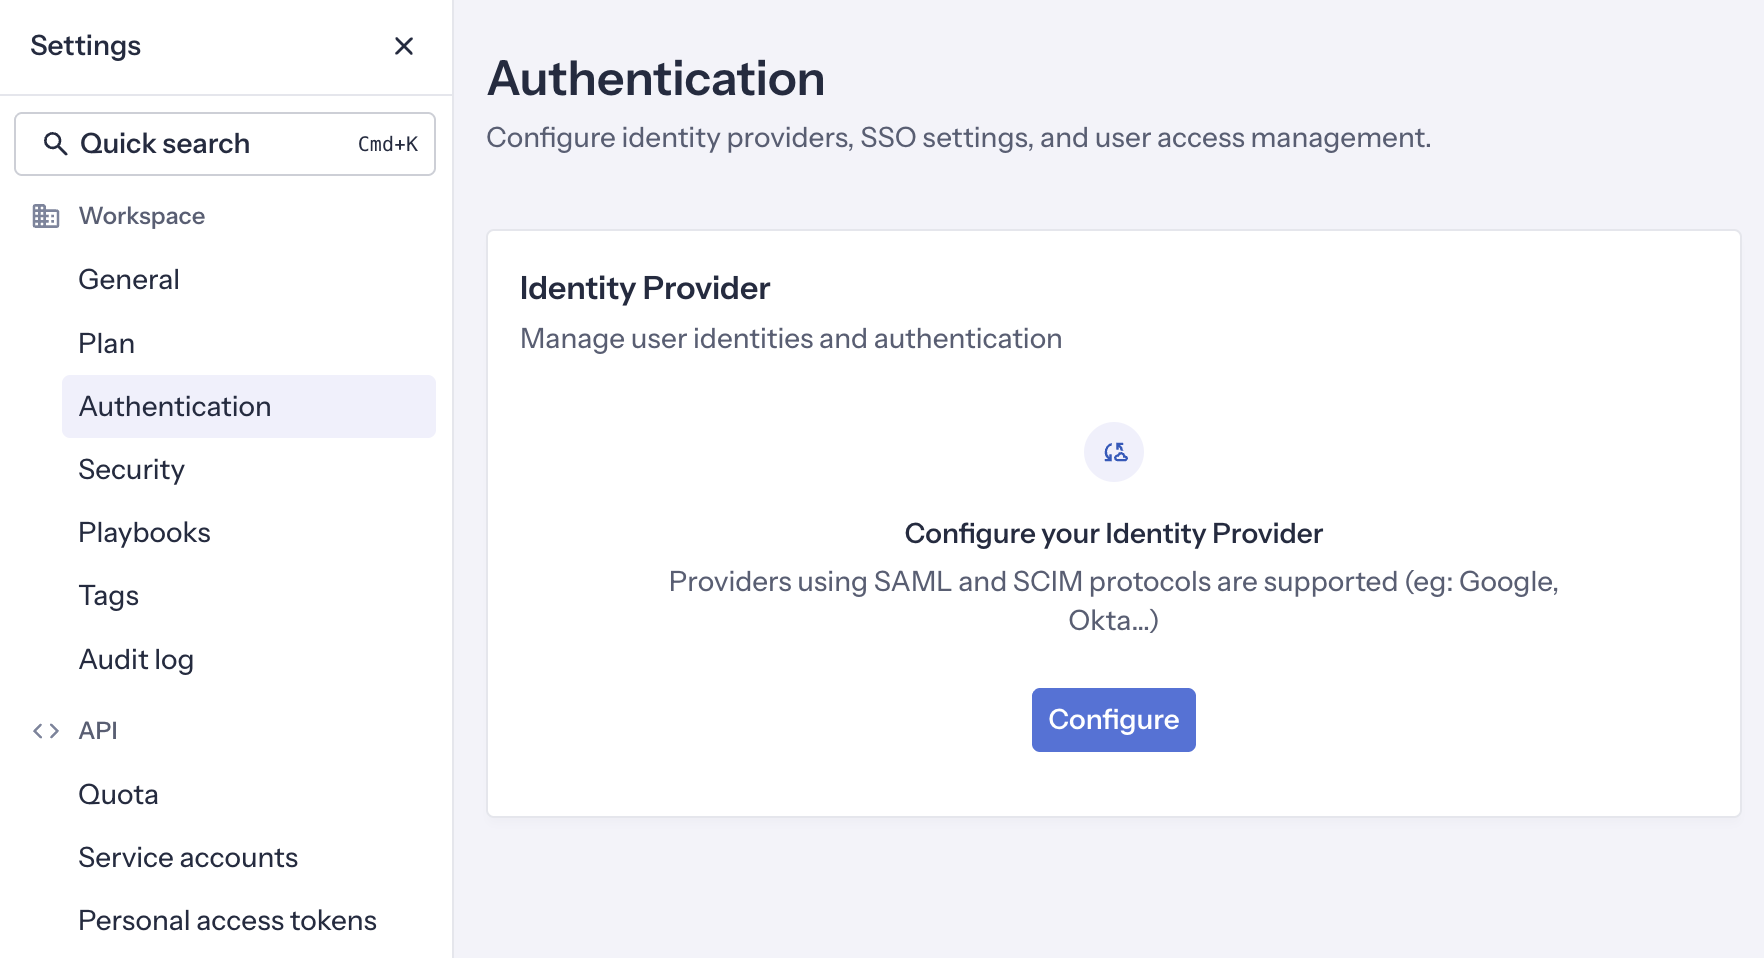
In your GitGuardian dashboard, navigate to Settings > Authentication and click Configure.
-
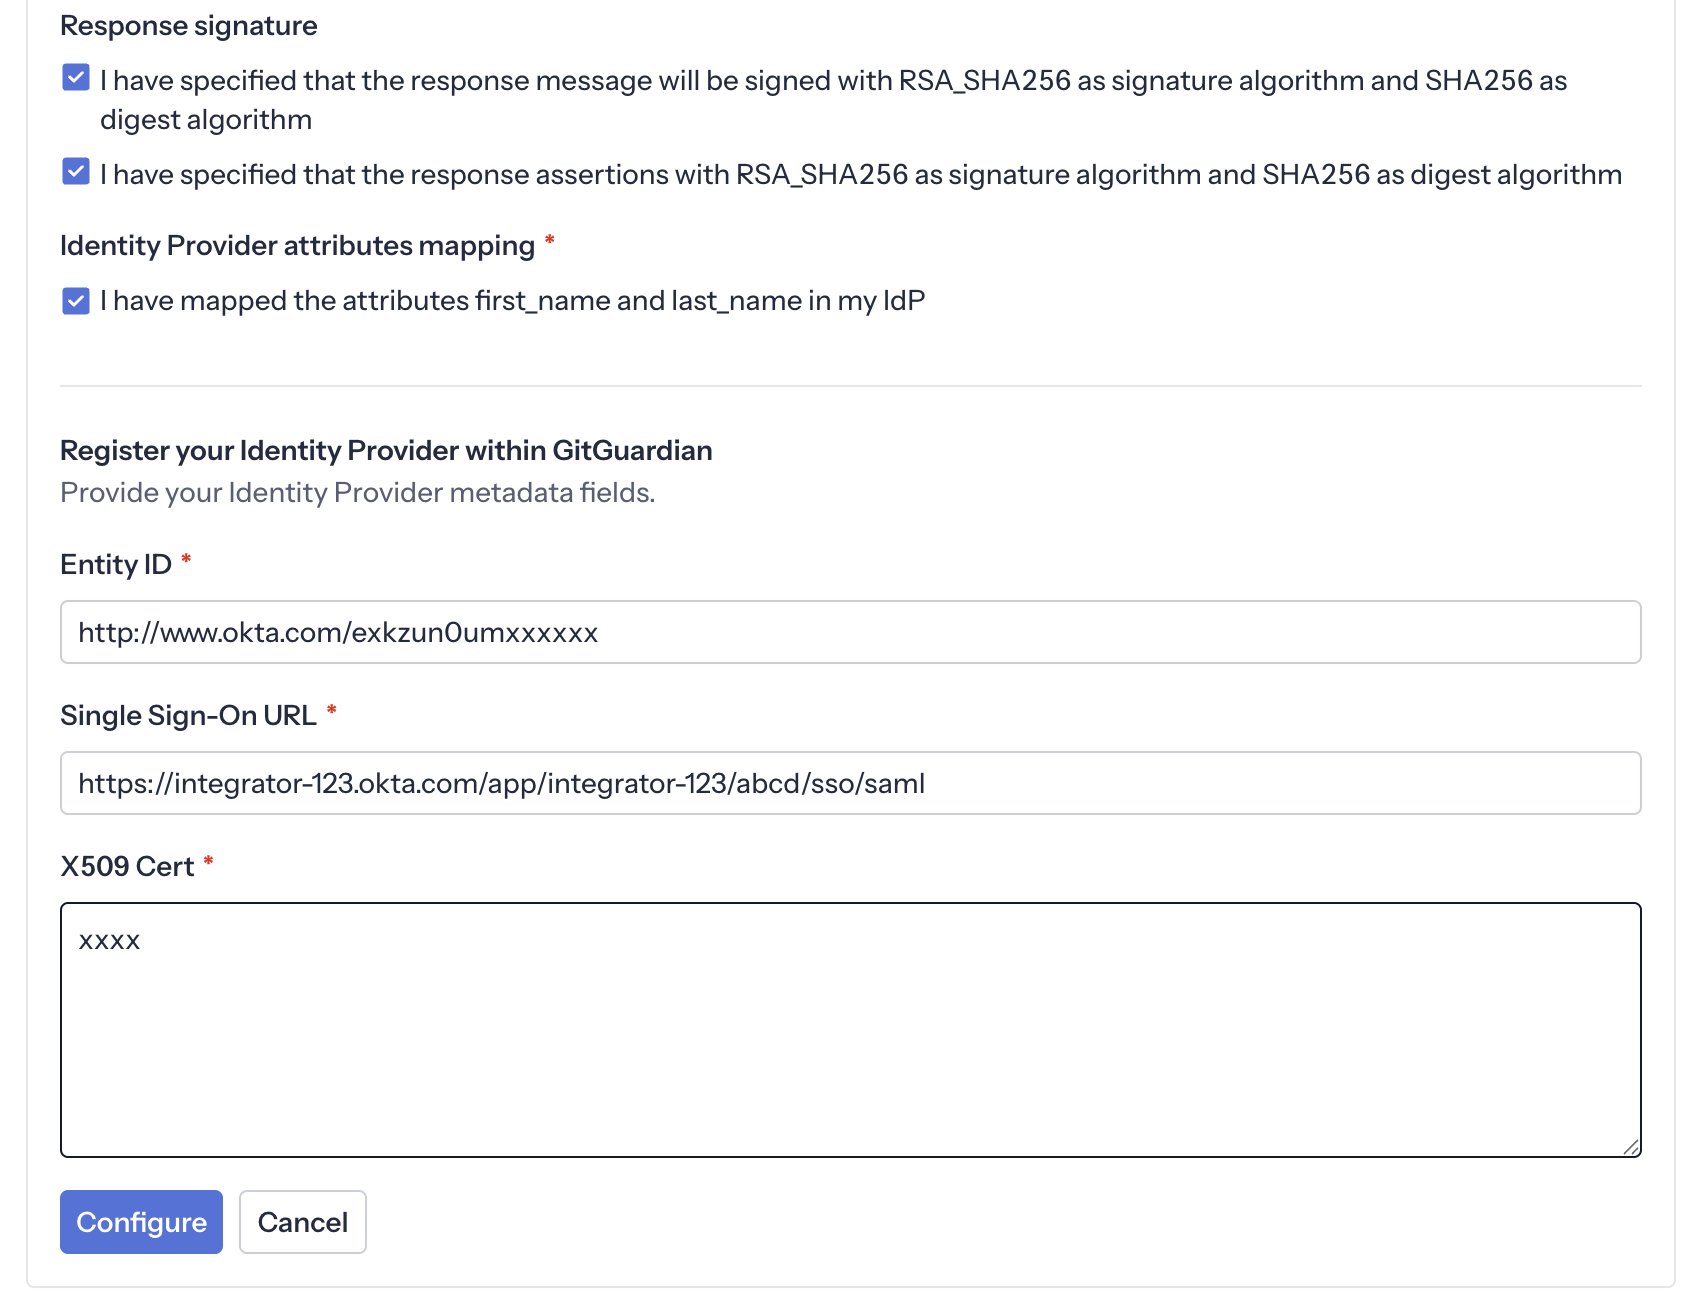
Configure the Identity Provider with the values from the previous step:
- Entity Id: paste the Issuer value
- Single Sign-On URL: paste the Sign on URL value
- X509 Cert: paste the Signing Certificate content
- Ensure that the checkbox I have mapped the attributes first_name and last_name in my IdP is checked
-
Assign users to the app in the Assignments tab.
-
Important: Reserve your email domain to enable automatic SSO discovery.
Okta custom SAML app
If you prefer to create a custom SAML application, follow these steps:
-
In Okta, go to Applications > Applications and click Create New App.
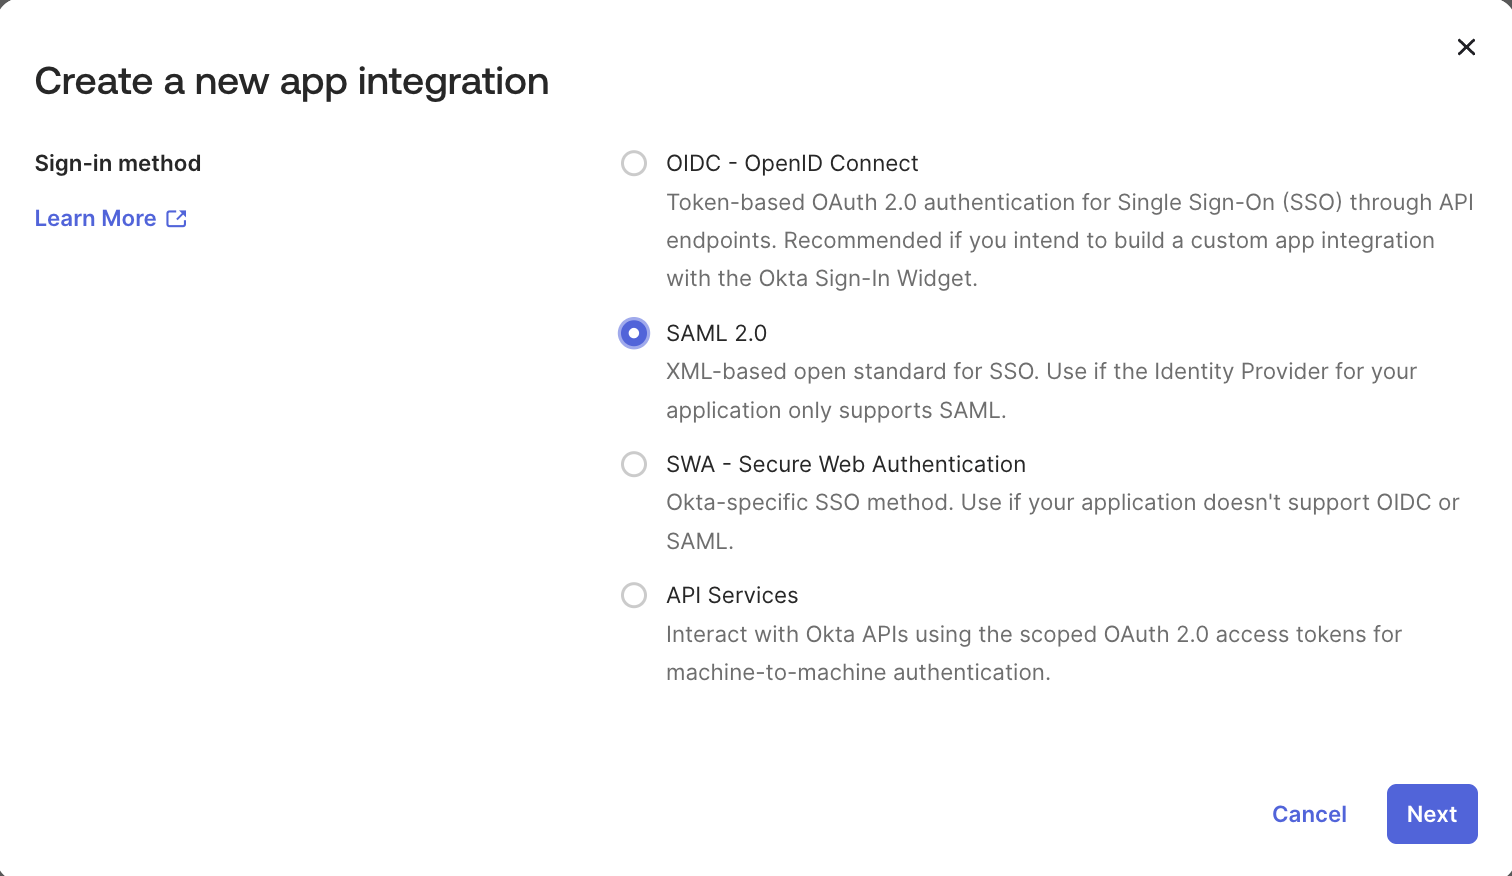
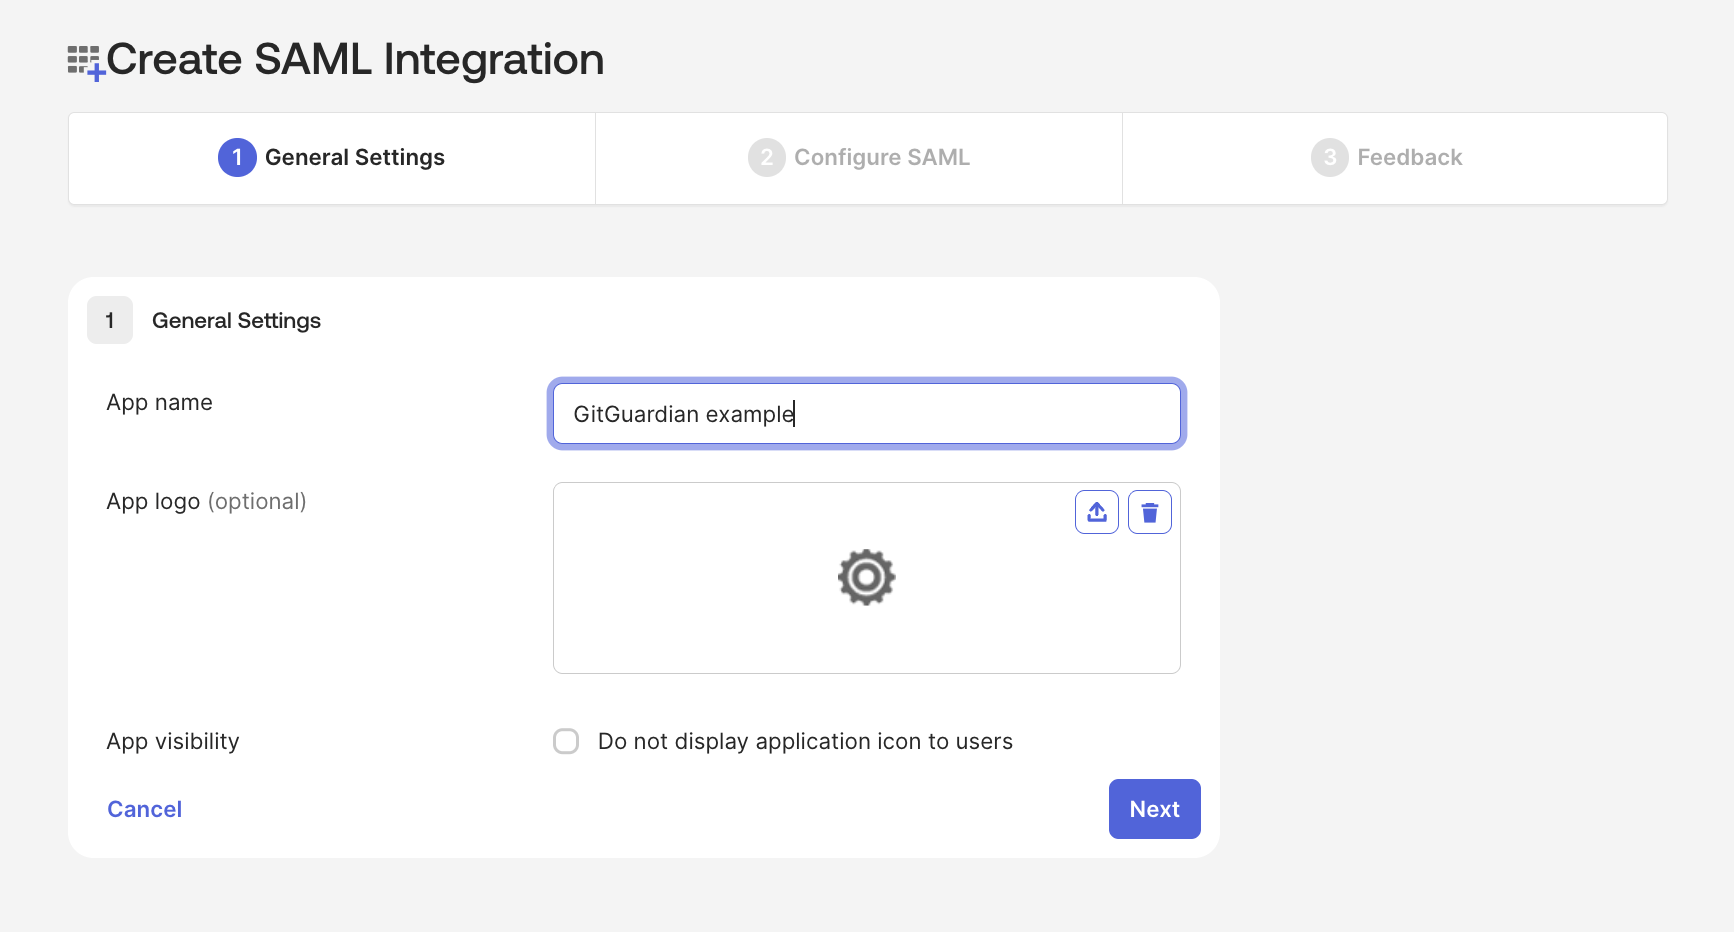
-
Set the general information for your SAML app (name, logo) that users will see when logging in.
-
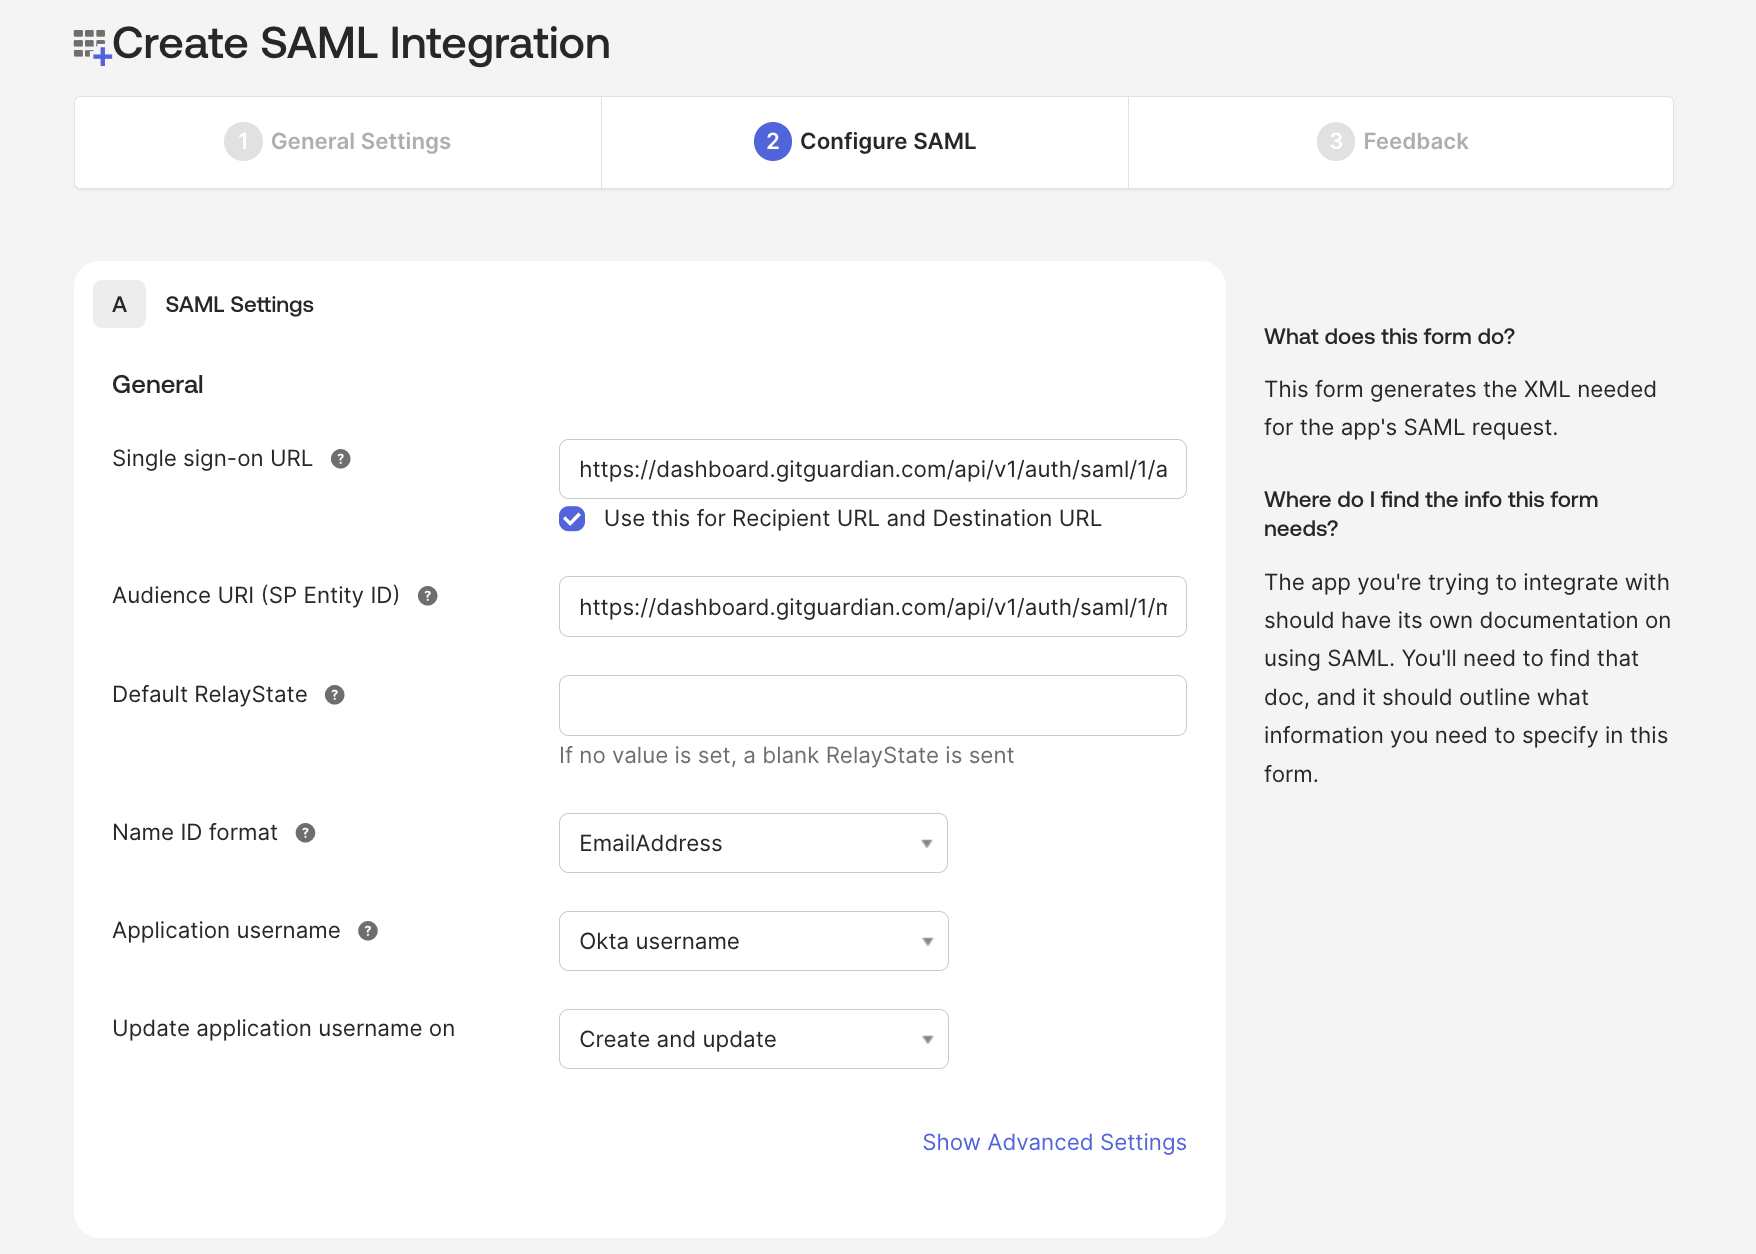
Click Next and configure the basic SAML settings:
- Single sign on URL: paste the ACS URL value from the GitGuardian dashboard.
- Audience URI (SP Entity ID): paste the SP Entity ID value from the GitGuardian dashboard.
- Default RelayState: leave blank.
- Name ID format: set to EmailAddress.
-
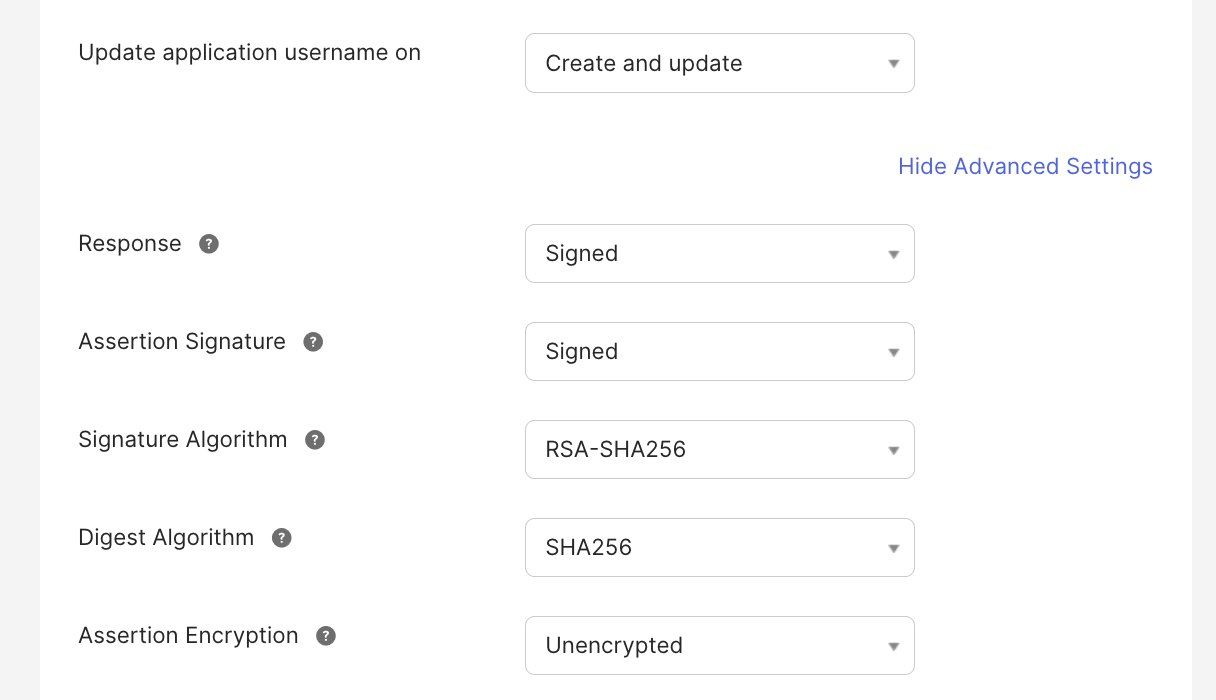
Click Show Advanced Settings and verify the following:
- Both Response and Assertion Signature are set to Signed.
- Signature Algorithm is set to RSA-SHA256.
- Digest Algorithm is set to SHA256.
- Assertions are not encrypted.
-
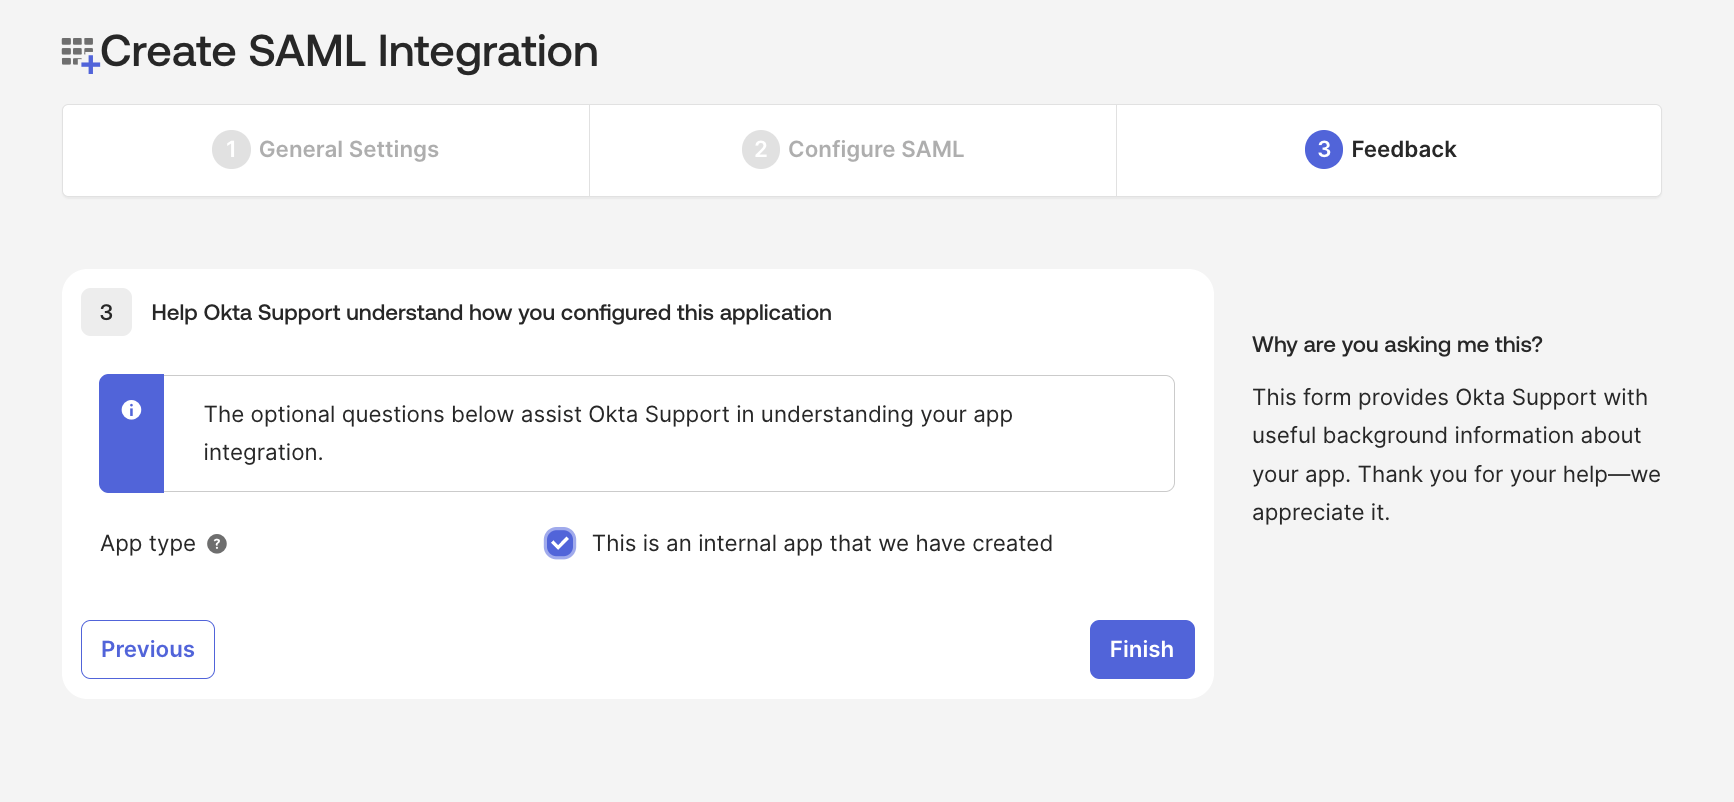
Complete the remaining app configuration steps.
-
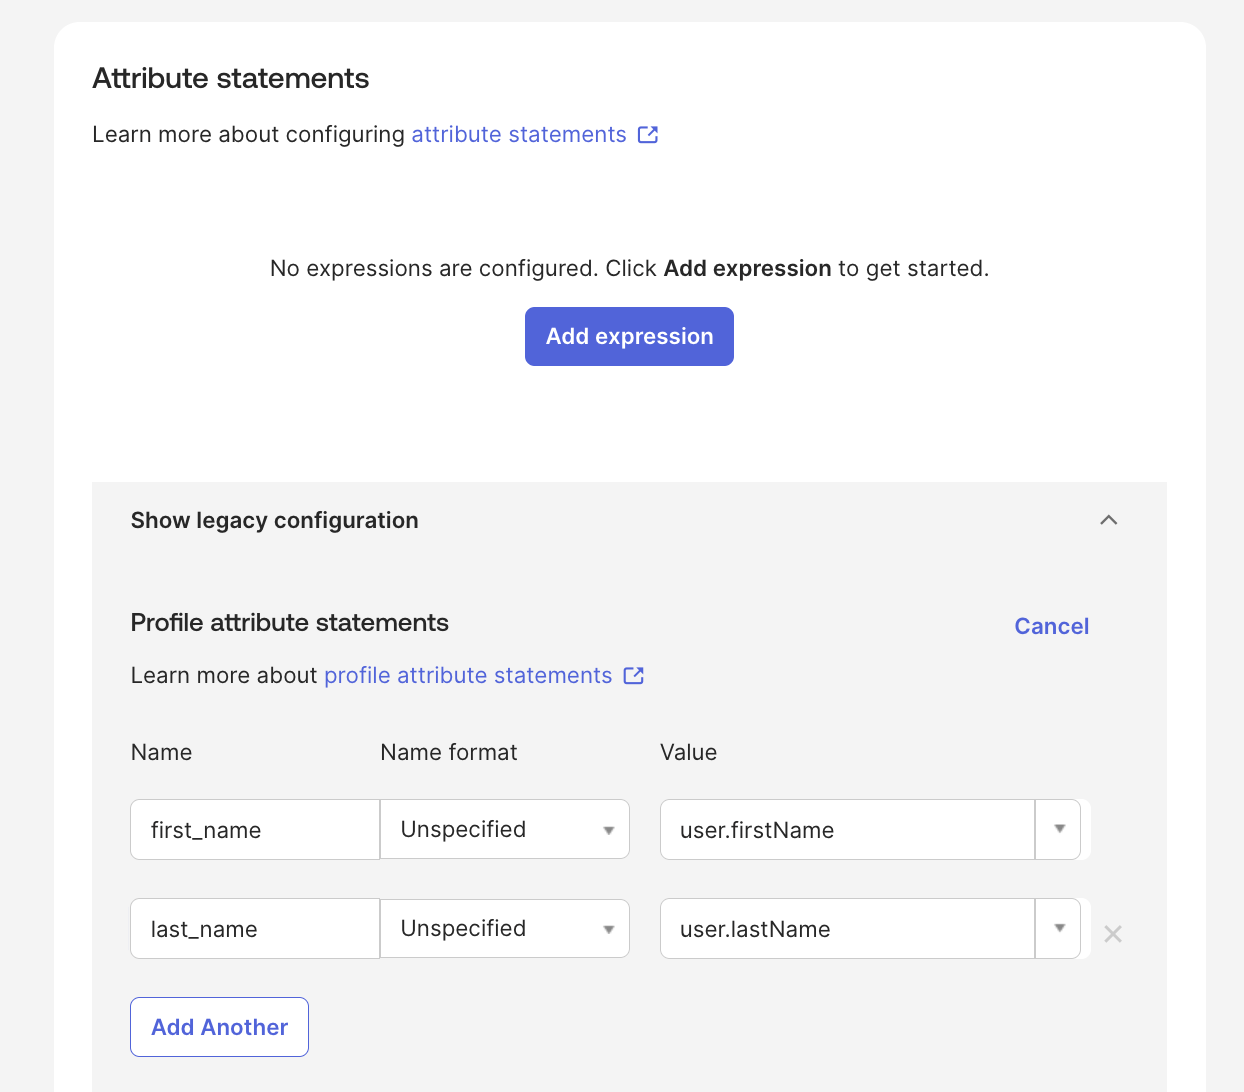
Go to the Sign On tab and configure attribute mappings:
first_nameis mapped to the user's first name.last_nameis mapped to the user's last name.
-
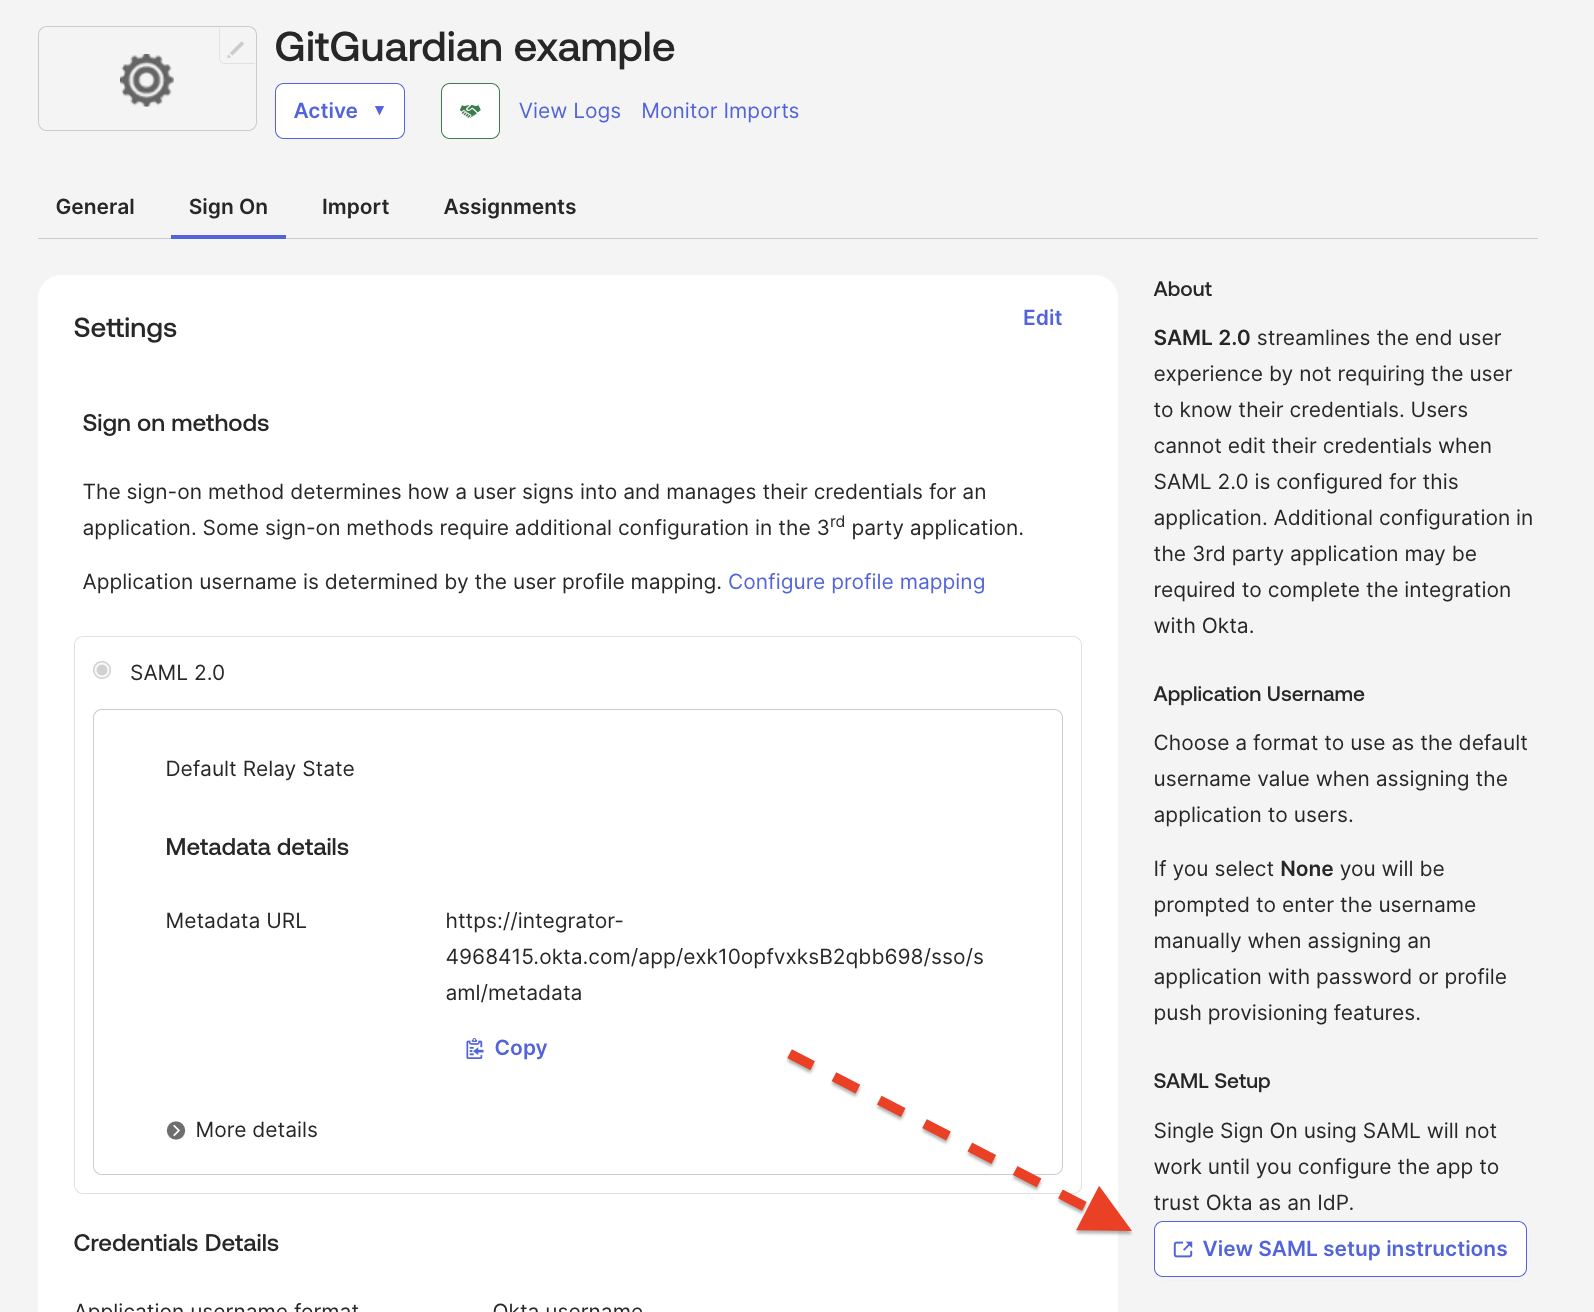
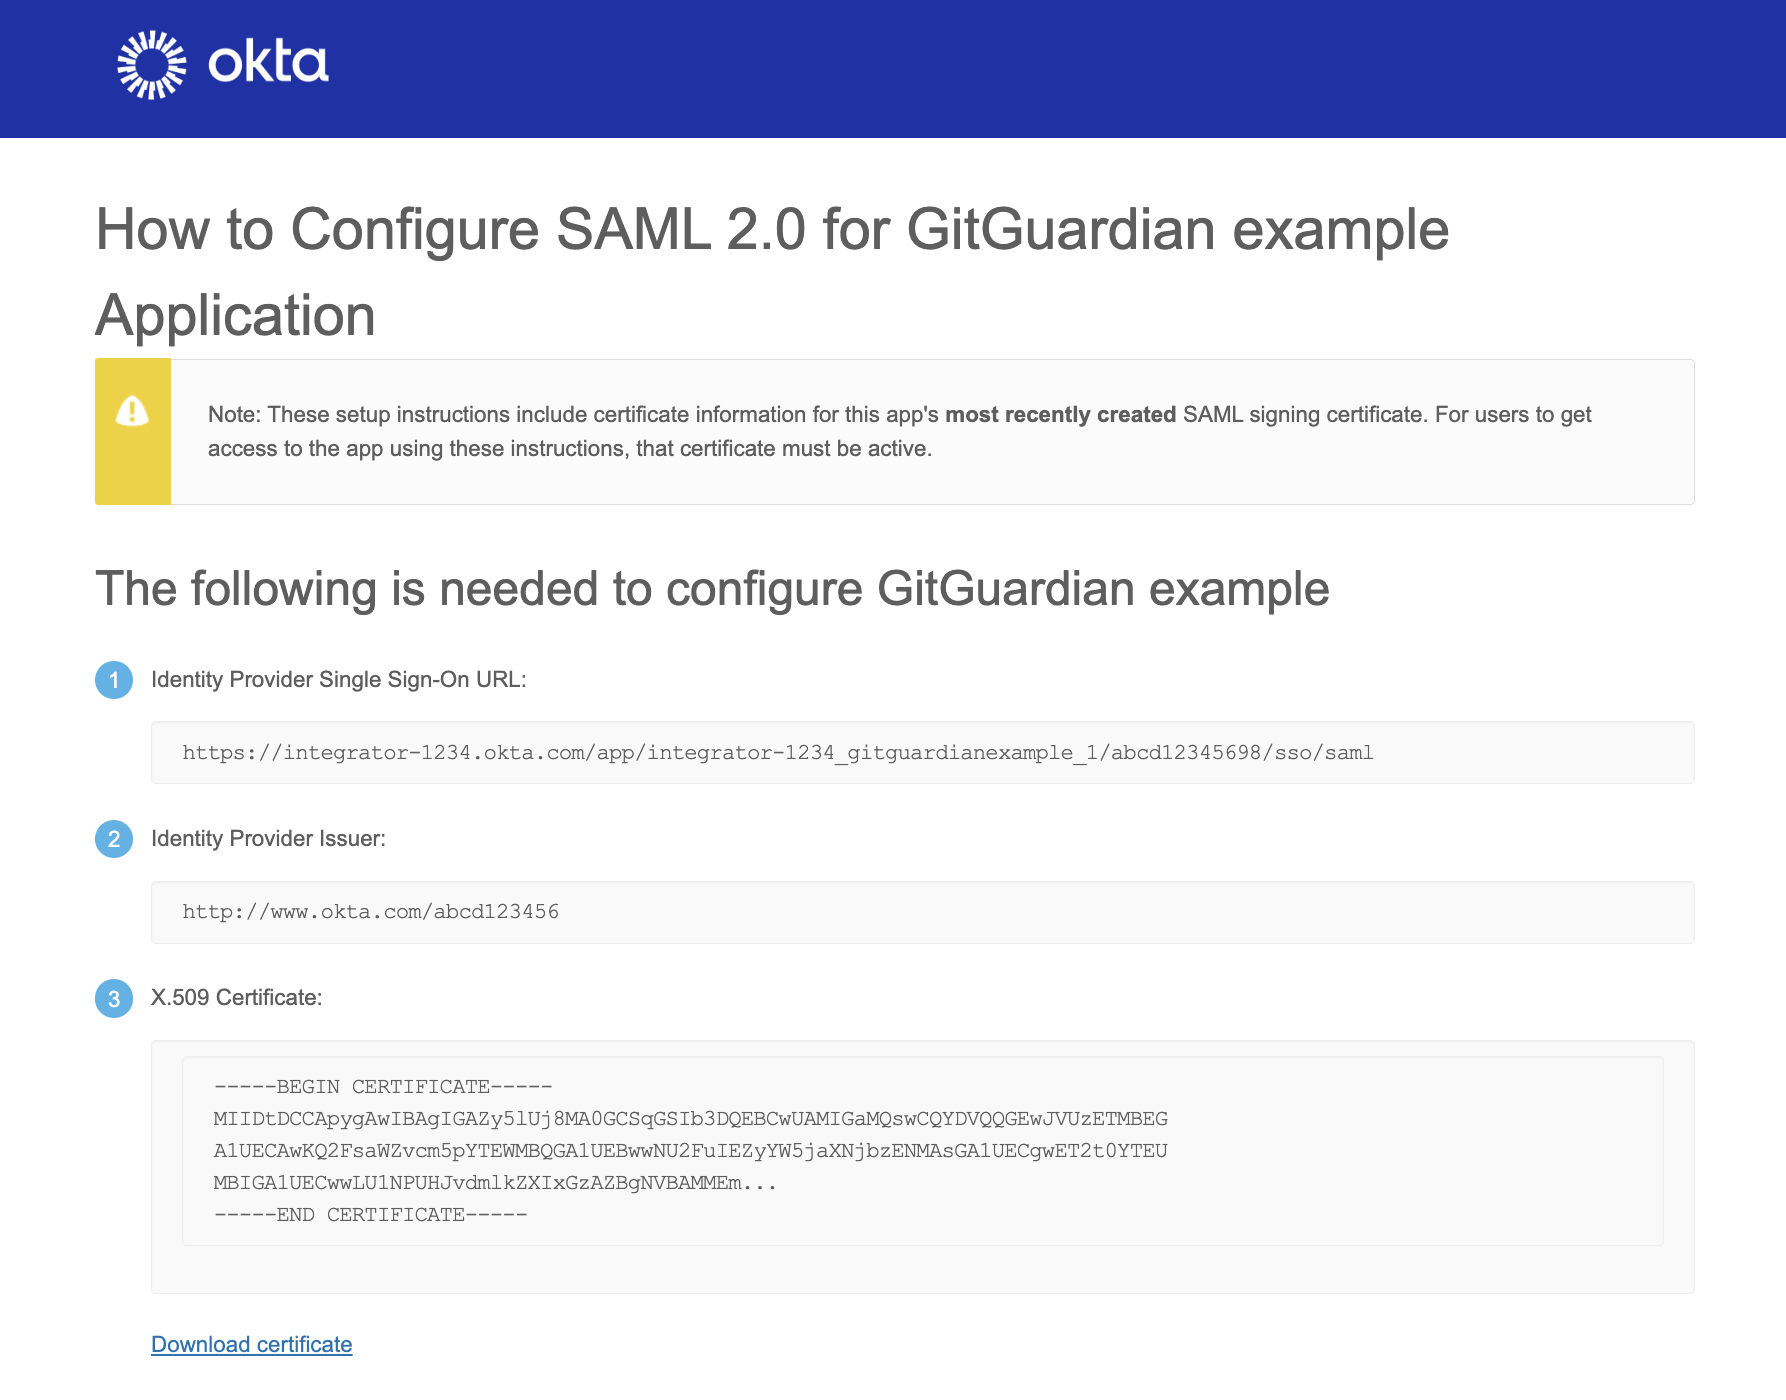
Still on the Sign On tab, click View Setup Instructions and use the provided values to configure the Identity Provider in the GitGuardian dashboard:
- Entity Id: paste the Identity Provider Issuer value.
- Single Sign-On URL: paste the Identity Provider Single Sign-On URL value.
- X509 Cert: paste the X.509 Certificate content.
- Ensure that the checkbox I have mapped the attributes first_name and last_name in my IdP is checked.
-
Important: Don't forget to reserve your email domain to enable automatic SSO discovery.

