Cluster management
Overview
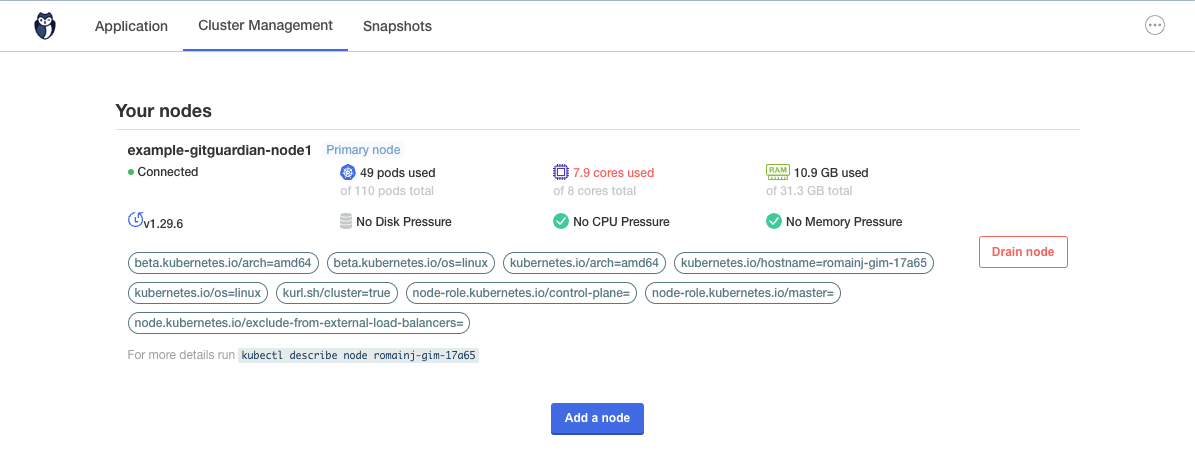
An overview of your cluster is available under the "Cluster Management" tab in the Admin Console.

Some key pieces of information:
- Nodes in the cluster.
- CPU, RAM, and disk availability on each node.
Nodes don't need to be of the same size.
Here, you can also find instructions to add a new node. You can also drain nodes.
Adding worker nodes to Embedded cluster
If you want more processing power, you can scale your instance vertically by using a more powerful machine. But it is not always practical because it needs to be done before the installation, and it also means a big machine will always be running.
Usually, a better solution is to scale horizontally by adding worker nodes to the cluster. This solution is more flexible and allows to add and remove processing capabilities when needed. A common use case is the initial historical scan. If you have a lot of repositories, adding more CPUs can speed up this process a lot.
For nodes to communicate together, you need to open 30000 and the following ports between them.
You can add a node at anytime (installation included).
- Connect with SSH to your other node.
- Run the following to download the installer:
LICENSE_ID=your_license
curl -f https://replicated.app/embedded/gitguardian/stable -H "Authorization: $LICENSE_ID" -o gitguardian.tgz
tar -xvzf gitguardian.tgz
- Go to the KOTS Admin Console. Go to the "Cluster Management" tab. Click on "Add node"
- Select roles to assign to the node
managementis used for control-plane/worker nodes (for high availability).- The other roles are to be set depending on which kind of workload you intend to run.
- If you just need processing power and you don't know the exact usage, just select all roles (except
management)
- It will show you a command to add a node.

- Run it on your new node.
- Run the join command


