Install airgap using KOTS existing cluster
Introduction
This installation method will be deprecated and unsupported after the June 2026 release (version 2026.6.0). Please use the Helm installation on an existing cluster instead.
⚠️ Use the Helm installation on an existing cluster unless instructed otherwise.
This guide covers installing GitGuardian in air-gapped environments using KOTS (Kubernetes Off-The-Shelf) on an existing Kubernetes cluster. In air-gapped environments, there is no direct internet connectivity, so this installation method requires downloading GitGuardian bundles from the internet on a separate machine, then transferring them to your isolated environment.
Prerequisites
Required Infrastructure
-
Kubernetes Cluster: A running Kubernetes cluster in your isolated environment. See system requirements for details. For OpenShift clusters, refer to the OpenShift installation guidelines.
-
PostgreSQL Database: An external PostgreSQL instance with required extensions installed. See database configuration for setup details.
-
Redis Instance: A dedicated Redis instance. See system requirements for configuration details.
-
Private Image Registry: A private container registry accessible from your Kubernetes cluster to host GitGuardian images.
Additional Requirements
-
License File (for KOTS installation): Download your GitGuardian license from the portal. See license management for instructions.
-
Network Access: Ensure your isolated environment meets the network requirements.
-
Domain Name: A Fully Qualified Domain Name (FQDN) for accessing the application. See system requirements.
Before starting the installation, ensure to review the system and network requirements, and download your license.
Installation
Download and Install the KOTS Admin Console
First, install the kubectl KOTS plugin on your machine:
curl https://kots.io/install | bash
Then, you need to download the latest bundle for the KOTS Admin Console. There are two places to download it. The first and recommended one is the download portal where you can also download your license and the application bundle. The second one is the release assets on GitHub. In both cases, make sure to match your locally installed KOTS plugin version. You can check it by running:
kubectl kots version
Kubernetes Application RBAC
The KOTS Admin Console will have full control over all resources across all namespaces in the cluster. More information in Replicated documentation.
If you are not cluster-admin in your Kubernetes cluster or do not want to
grant the KOTS Admin Console such wide permissions, you will need to apply the
below configuration in your targeted namespace <gitguardian_namespace>:
RBAC Roles KOTS install
---
apiVersion: v1
kind: ServiceAccount
metadata:
  name: kotsadm
  namespace: <gitguardian_namespace>
  labels:
    kots.io/backup: velero
    kots.io/kotsadm: 'true'

---
apiVersion: rbac.authorization.k8s.io/v1
kind: Role
metadata:
  name: kotsadm-role
  namespace: <gitguardian_namespace>
  labels:
    kots.io/backup: velero
    kots.io/kotsadm: 'true'
rules:
  - apiGroups: ['']
    resources:
      [
        'configmaps',
        'persistentvolumeclaims',
        'pods',
        'secrets',
        'services',
        'limitranges',
        'serviceaccounts',
      ]
    verbs: ['get', 'list', 'watch', 'create', 'update', 'patch', 'delete']
  - apiGroups: ['apps']
    resources:
      [
        'daemonsets',
        'deployments',
        'deployments/scale',
        'replicasets',
        'statefulsets',
      ]
    verbs: ['get', 'list', 'watch', 'create', 'update', 'patch', 'delete']
  - apiGroups: ['batch']
    resources: ['jobs', 'cronjobs']
    verbs: ['get', 'list', 'watch', 'create', 'update', 'patch', 'delete']
  - apiGroups: ['networking.k8s.io', 'extensions']
    resources: ['ingresses', 'networkpolicies']
    verbs: ['get', 'list', 'watch', 'create', 'update', 'patch', 'delete']
  - apiGroups: ['policy']
    resources: ['poddisruptionbudgets']
    verbs: ['get', 'list', 'watch', 'create', 'update', 'patch', 'delete']
  - apiGroups: ['']
    resources: ['namespaces', 'endpoints']
    verbs: ['get']
  - apiGroups: ['authorization.k8s.io']
    resources: ['selfsubjectaccessreviews', 'selfsubjectrulesreviews']
    verbs: ['create']
  - apiGroups: ['rbac.authorization.k8s.io']
    resources: ['roles', 'rolebindings']
    verbs: ['get', 'list', 'watch', 'create', 'update', 'patch', 'delete']
  - apiGroups: ['']
    resources: ['pods/log', 'pods/exec']
    verbs: ['get', 'list', 'watch', 'create']
  - apiGroups: ['batch']
    resources: ['jobs/status']
    verbs: ['get', 'list', 'watch']
  - apiGroups: ['monitoring.coreos.com']
    resources: ['servicemonitors']
    verbs: ['get', 'list', 'watch', 'create', 'update', 'patch', 'delete']
  - apiGroups: ['']
    resources: ['events']
    verbs: ['list']

---
apiVersion: rbac.authorization.k8s.io/v1
kind: RoleBinding
metadata:
  name: kotsadm-rolebinding
  namespace: <gitguardian_namespace>
  labels:
    kots.io/backup: velero
    kots.io/kotsadm: 'true'
roleRef:
  apiGroup: rbac.authorization.k8s.io
  kind: Role
  name: kotsadm-role
subjects:
  - kind: ServiceAccount
    name: kotsadm
Upload Admin Console Images to Private Registry
Now you need to upload these images to your registry using a user with write access to your internal registry:
kubectl kots admin-console push-images ./kotsadm.tar.gz \
  ${private.registry.host}/gitguardian \
  --registry-username ${rw-username} \
  --registry-password ${rw-password}
The username and password for the registry are not stored anywhere.
Install the KOTS Admin Console
Finally, you can run the install command for the KOTS Admin Console.
If you are cluster-admin:
kubectl kots install gitguardian \
  --kotsadm-namespace gitguardian \
  --kotsadm-registry ${private.registry.host} \
  --registry-username ${ro-username} \
  --registry-password ${ro-password}
If you are not cluster-admin (and applied the RBAC configuration above):
kubectl kots install --ensure-rbac=false gitguardian \
  --kotsadm-namespace gitguardian \
  --kotsadm-registry ${private.registry.host} \
  --registry-username ${ro-username} \
  --registry-password ${ro-password}
A Kubernetes secret will be used to store these credentials.
You will be prompted to choose a password to access the KOTS Admin Console if one wasn't provided during installation.
An automatic port-forward is launched, you can now access the KOTS Admin Console on http://localhost:8800.
KOTS Admin Console
By default, this is accessed on http://localhost:8800 using this command kubectl kots admin-console --namespace=<namespace>, which is a wrapper around kubectl port-forward. You can configure an ingress if you want a public endpoint.
Download Application Bundle
First, you will need to download the license and the application bundle from the download portal. The application bundle filename should end with .airgap.

Transfer both the license file and the application bundle to your airgap environment where you can access the KOTS Admin Console.
Application Configuration
Once the KOTS Admin Console is running and you have uploaded the admin console bundle, you can proceed with the application configuration:
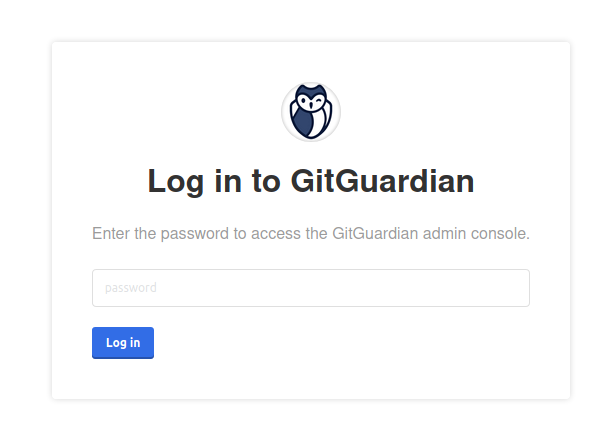
- Enter the password provided at the end of the cluster installation.
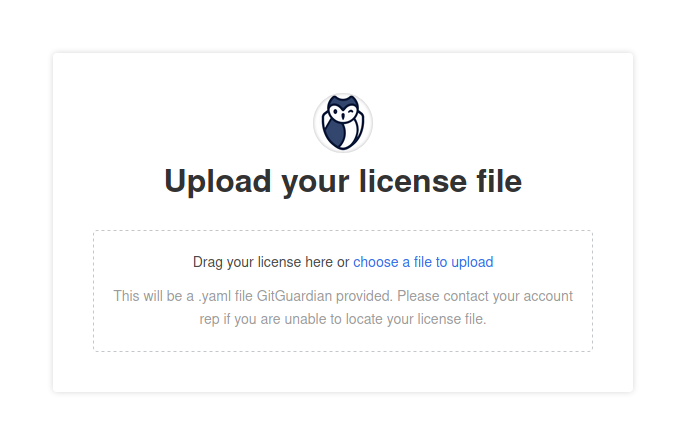
- Upload the license downloaded on the portal (see instructions on how to download the license file).
-
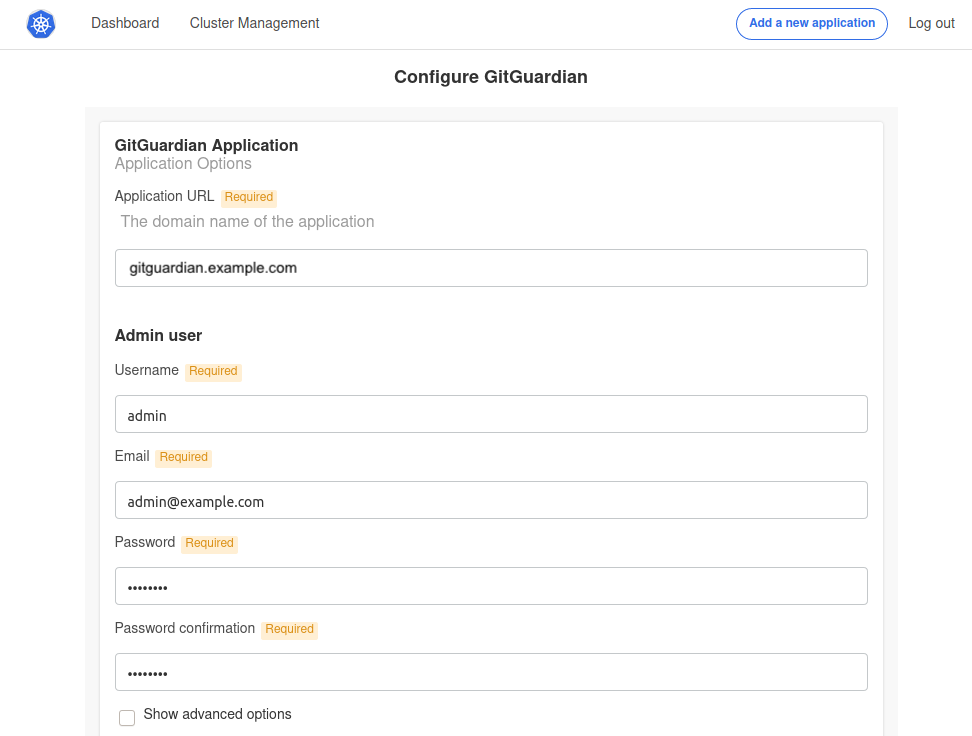
Configure the application. You need to fill in all the required fields:
- Application Hostname: Enter the Fully Qualified Domain Name (FQDN) for the GitGuardian application.
- Admin User Fields: These fields are used to create the first GitGuardian user. You'll need to change the password upon the first login.
- Databases: You must select an external PostgreSQL and Redis, see Configure your database. When utilizing Redis Sentinel for high availability, ensure that the Redis master password matches with the Redis sentinel's password and that you're using the correct Sentinel port (default: 26379).
Additional configuration options include:
- Scaling: Adjust the number of replicas for each application component. For more details, visit the Scaling page.
- Prometheus: Activate an exporter for Prometheus.
- Ingress TLS Certificate: This is for the GitGuardian Application. You can either use auto-generated self-signed certificates or upload your own. For self-signed or private CA certificates, disable SSL verification for the GitHub webhook. Learn more on the Configure TLS certificates page.
- Load Balancer: Change the Service type can be changed from ClusterIP to LoadBalancer if needed.
- Custom Certificate Authority: Provide a custom CA if necessary.
- HTTP(s) Proxy: Refer to the proxy section if needed.
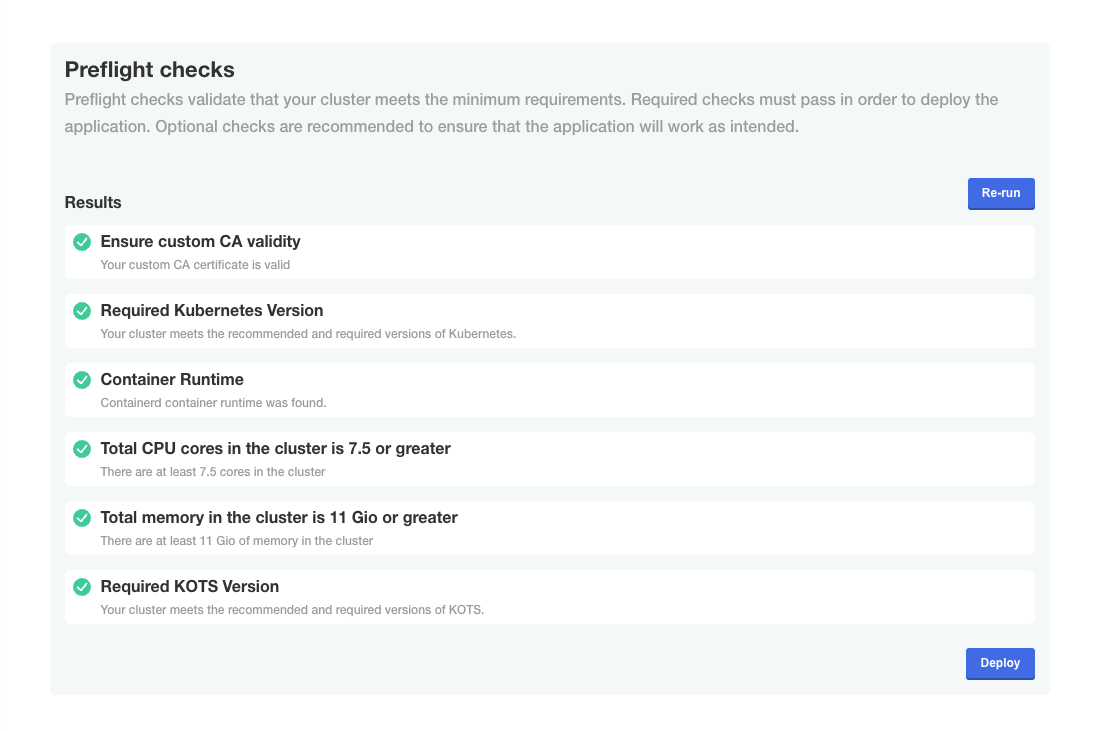
- Check if preflight checks pass.
Preflight checks are critical for a successful installation. The following rules apply:
- ❌ Preflight Check Failures: If preflight checks fail, the installation must not continue until the targeted environment meets all requirements. Please reach out to our support team if needed.
- ⚠️ Preflight Check Warnings: If preflight checks return warnings, the installation can proceed, but it is recommended that you address these warnings to comply with our recommendations.
- Launch
The first installation of the application requires a few minutes to create all database objects. Once the process is completed, you will be able to log in to the dashboard using the administrator user you defined.
Save the Data Encryption Key
GitGuardian encrypts all sensitive information in the database using an encryption key (aka Django Secret Key). In case of disaster recovery, this key will be needed to restore your data.
You should save it and keep it in a secure location. Use the following command to display the key:
kubectl get secrets gim-secrets --namespace=<namespace> -o jsonpath='{.data.DJANGO_SECRET_KEY}' | base64 -d
If needed, specify the Kubernetes namespace with --namespace (default namespace is used if not specified).
Troubleshooting
If you encounter issues during the installation process, you can generate a support bundle for the GitGuardian team to diagnose and resolve problems more efficiently. See the support bundle documentation for detailed instructions.
Next Steps��
After successful installation:
- Access your GitGuardian instance using the hostname you configured
- Log in with the administrator credentials you set up (change the temporary password on first login)
- Configure email settings for notifications
- Set up SSO and SCIM integration (optional)
- Integrate your first repositories to begin secret detection

